
How to Fix the “Liquifier Deadlock” Error on Fortus 3D Printers
Fortus 3D printers are known for their reliability, but one of the more common failures on aging machines is the dreaded Liquifier Deadlock error. While this message may appear to indicate a problem with the liquifier or filament, the root cause is often much simpler: the extruder motor has seized due to hardened grease inside its planetary gearbox.
Fortunately, this is a repair that can usually be completed in under an hour and can save hundreds (or even thousands) of dollars compared to replacing the motor assembly.
What Causes the Liquifier Deadlock Error?
The extruder drive motor contains a planetary reduction gearbox packed with high-temperature grease from the factory.
Over months of prolonged of operation (especially when using high temp filaments such as Ultem), the motor is exposed to continuous heat and grease inside eventually:
- dries out
- oxidizes
- hardens into a thick wax-like residue
When this happens, the planetary gears become increasingly difficult to turn. Eventually the motor can no longer produce enough torque to rotate the filament drive mechanism, causing the printer to report a Liquifier Deadlock.
Tools Required
- Phillips screwdriver
- Hex drivers (T5, T6 and T8)
- Picks or tweezers
- Degreaser
- Cotton swabs
- High-temperature synthetic grease
- Nitrile gloves
Step 1 – Remove the Print Head
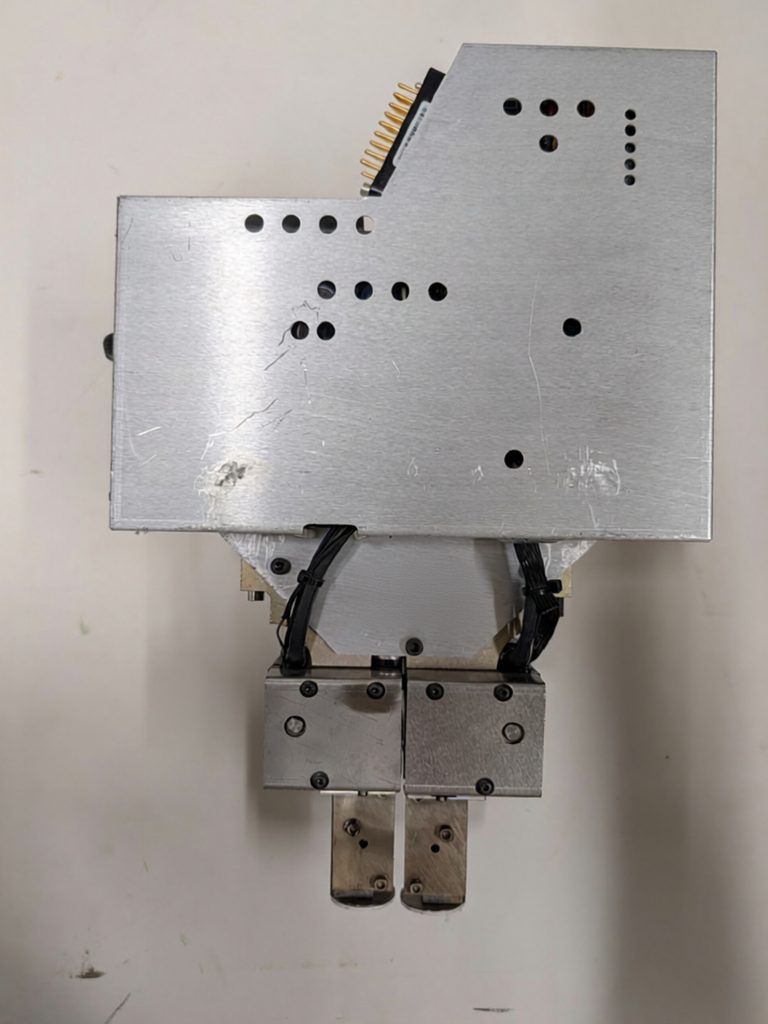
Begin by powering off the printer and removing the print head from the machine.
Use the standard print head removal procedure for your Fortus model.
Place the assembly on a clean work surface.
Step 2 – Remove the Covers
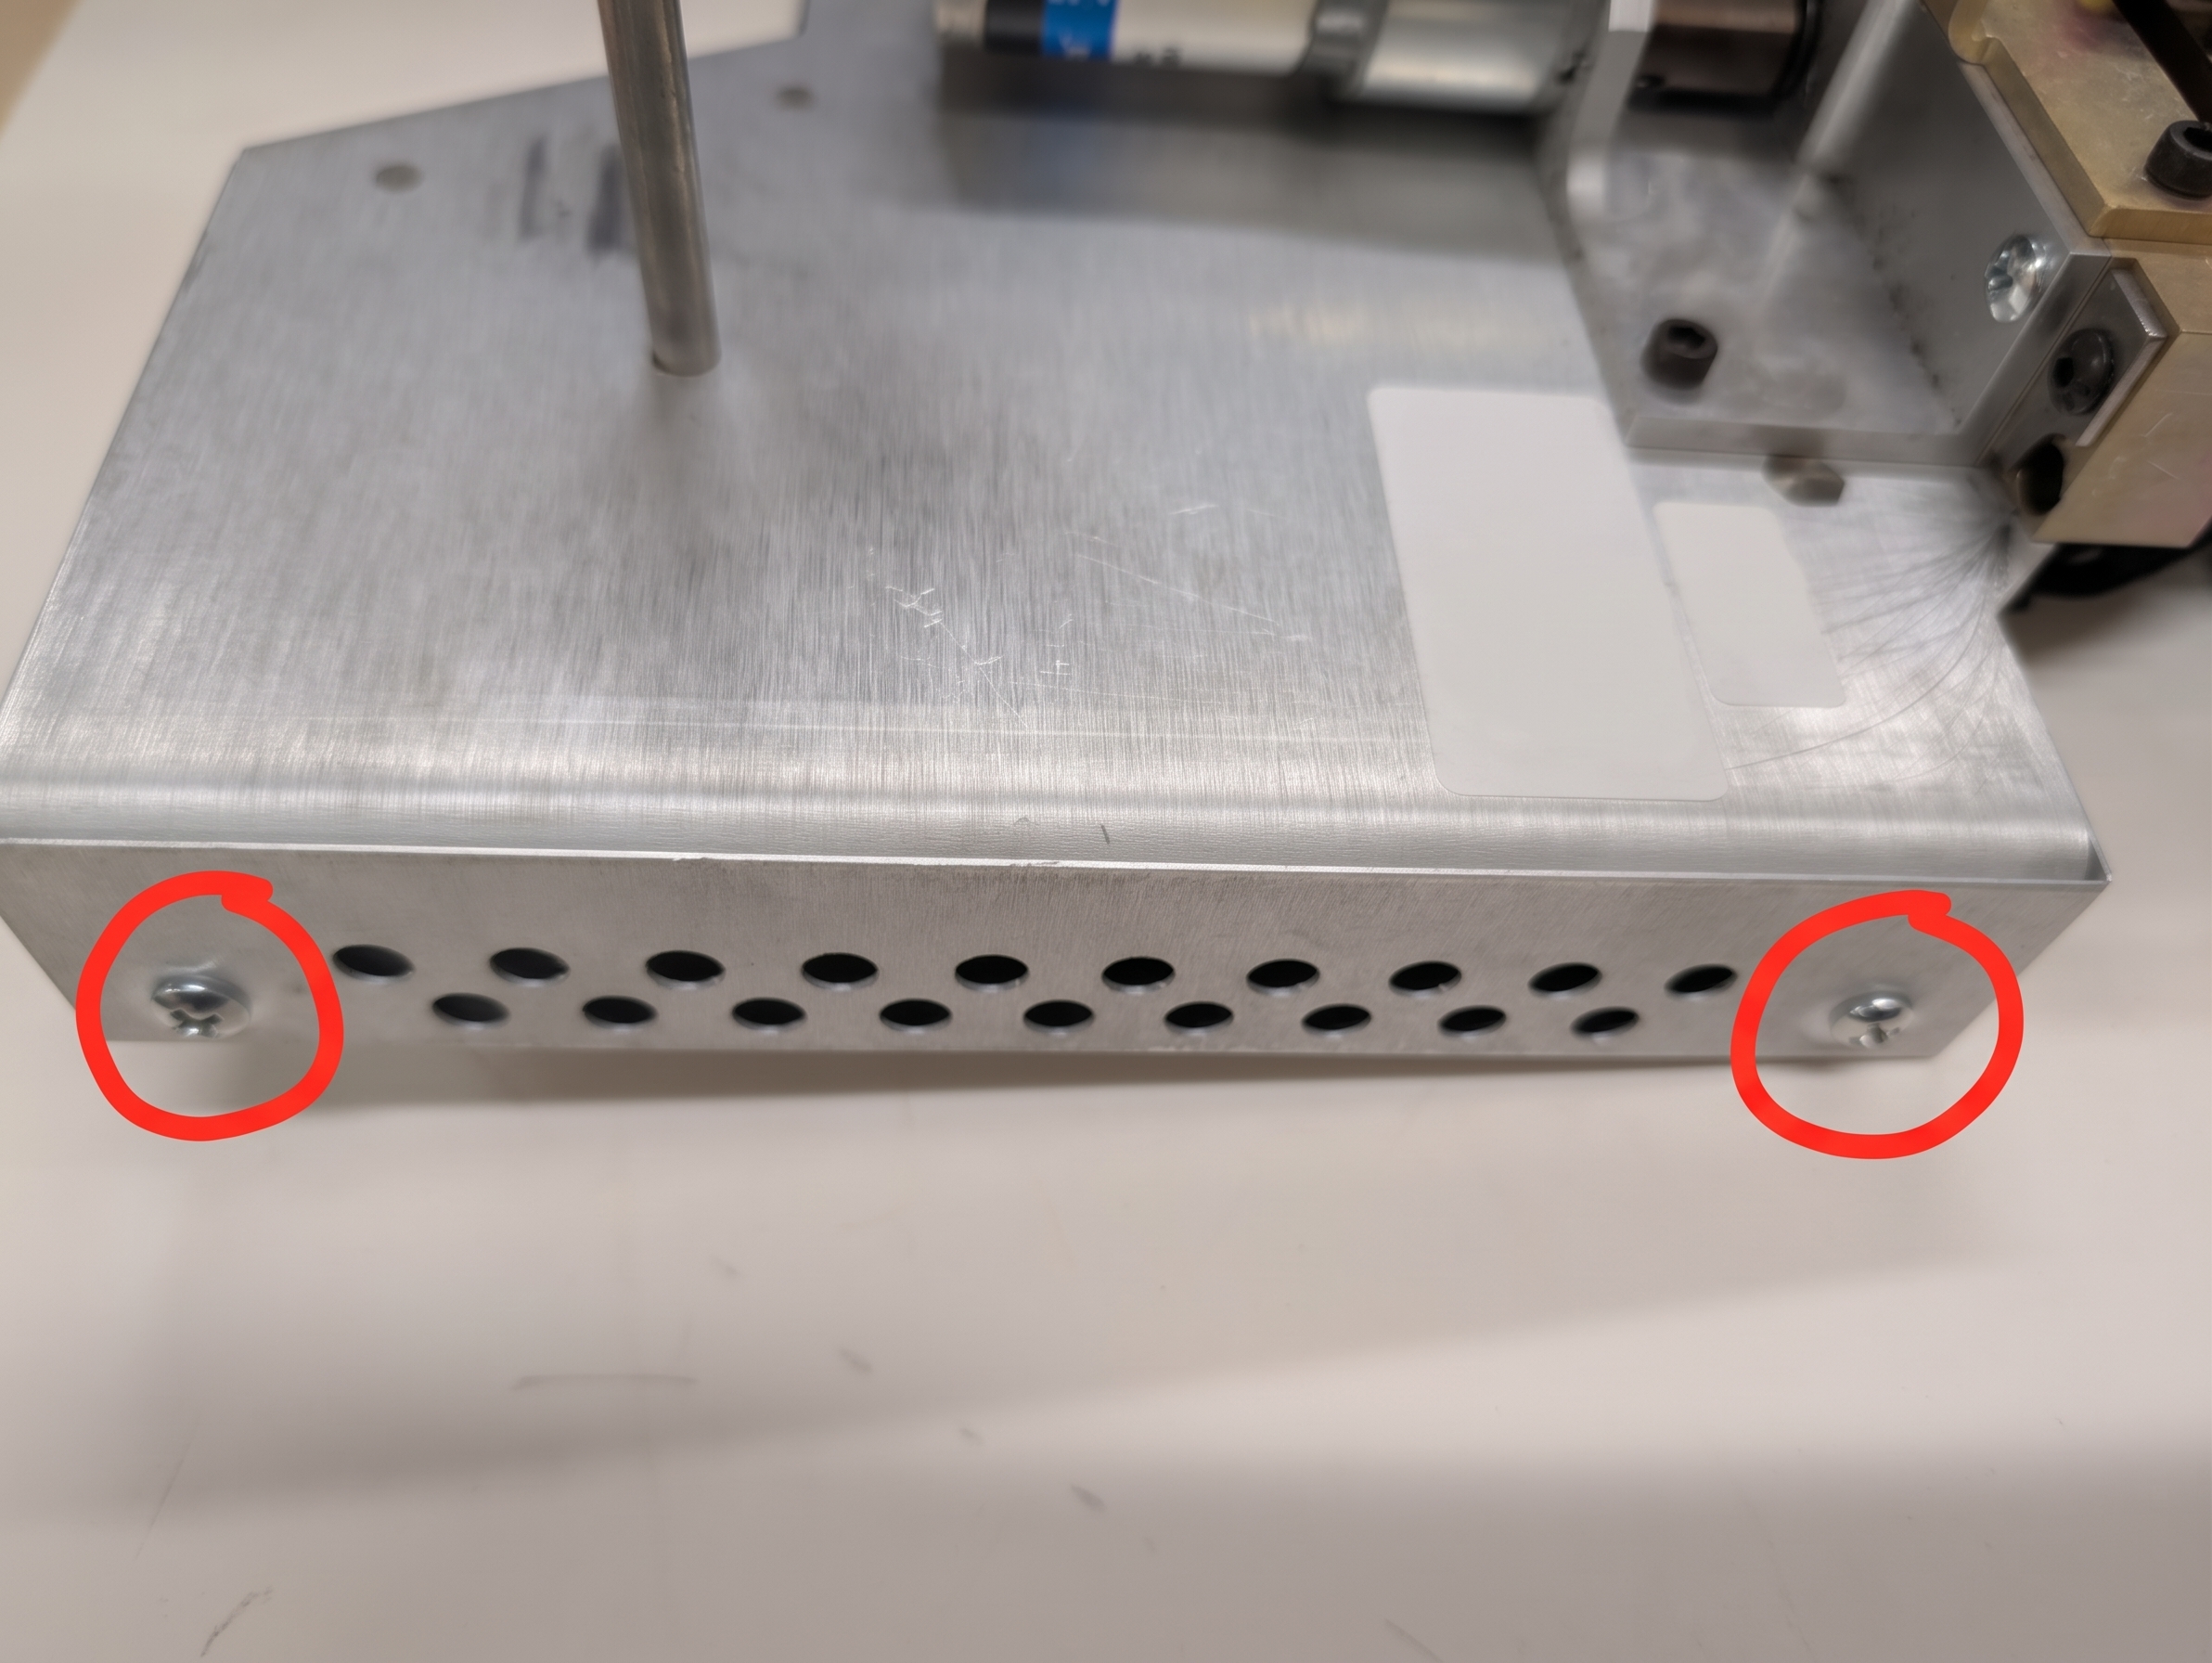
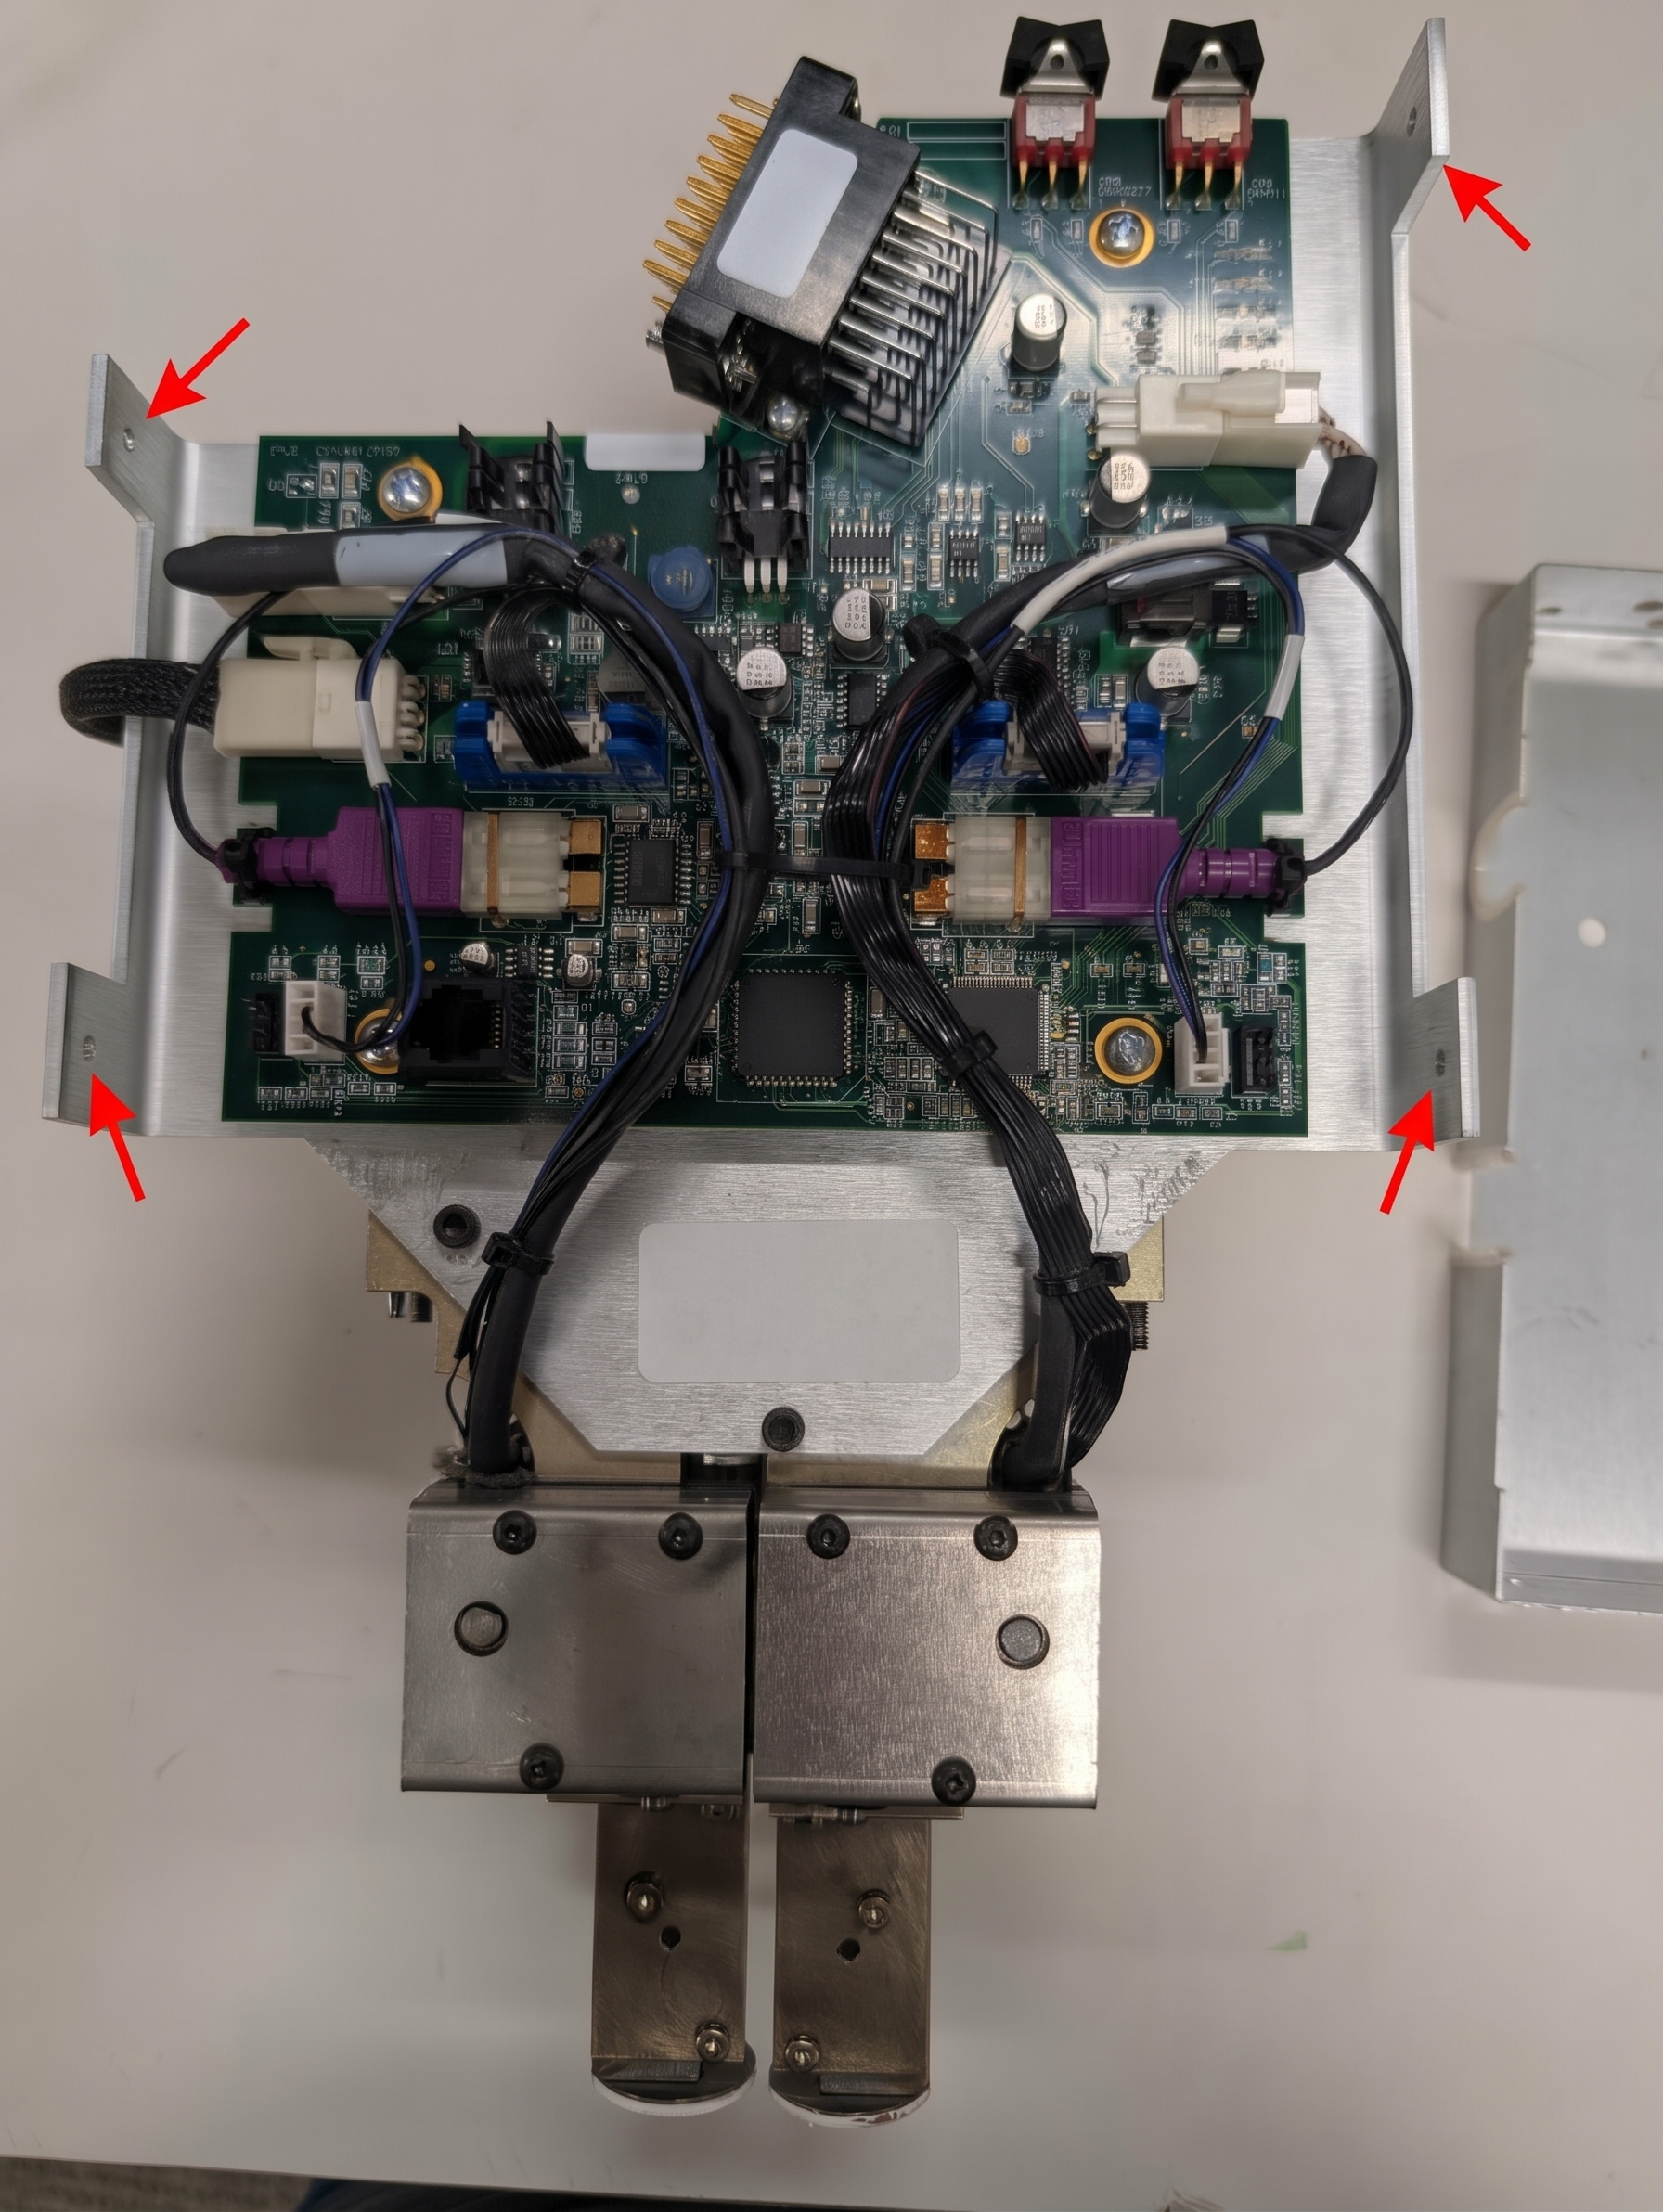
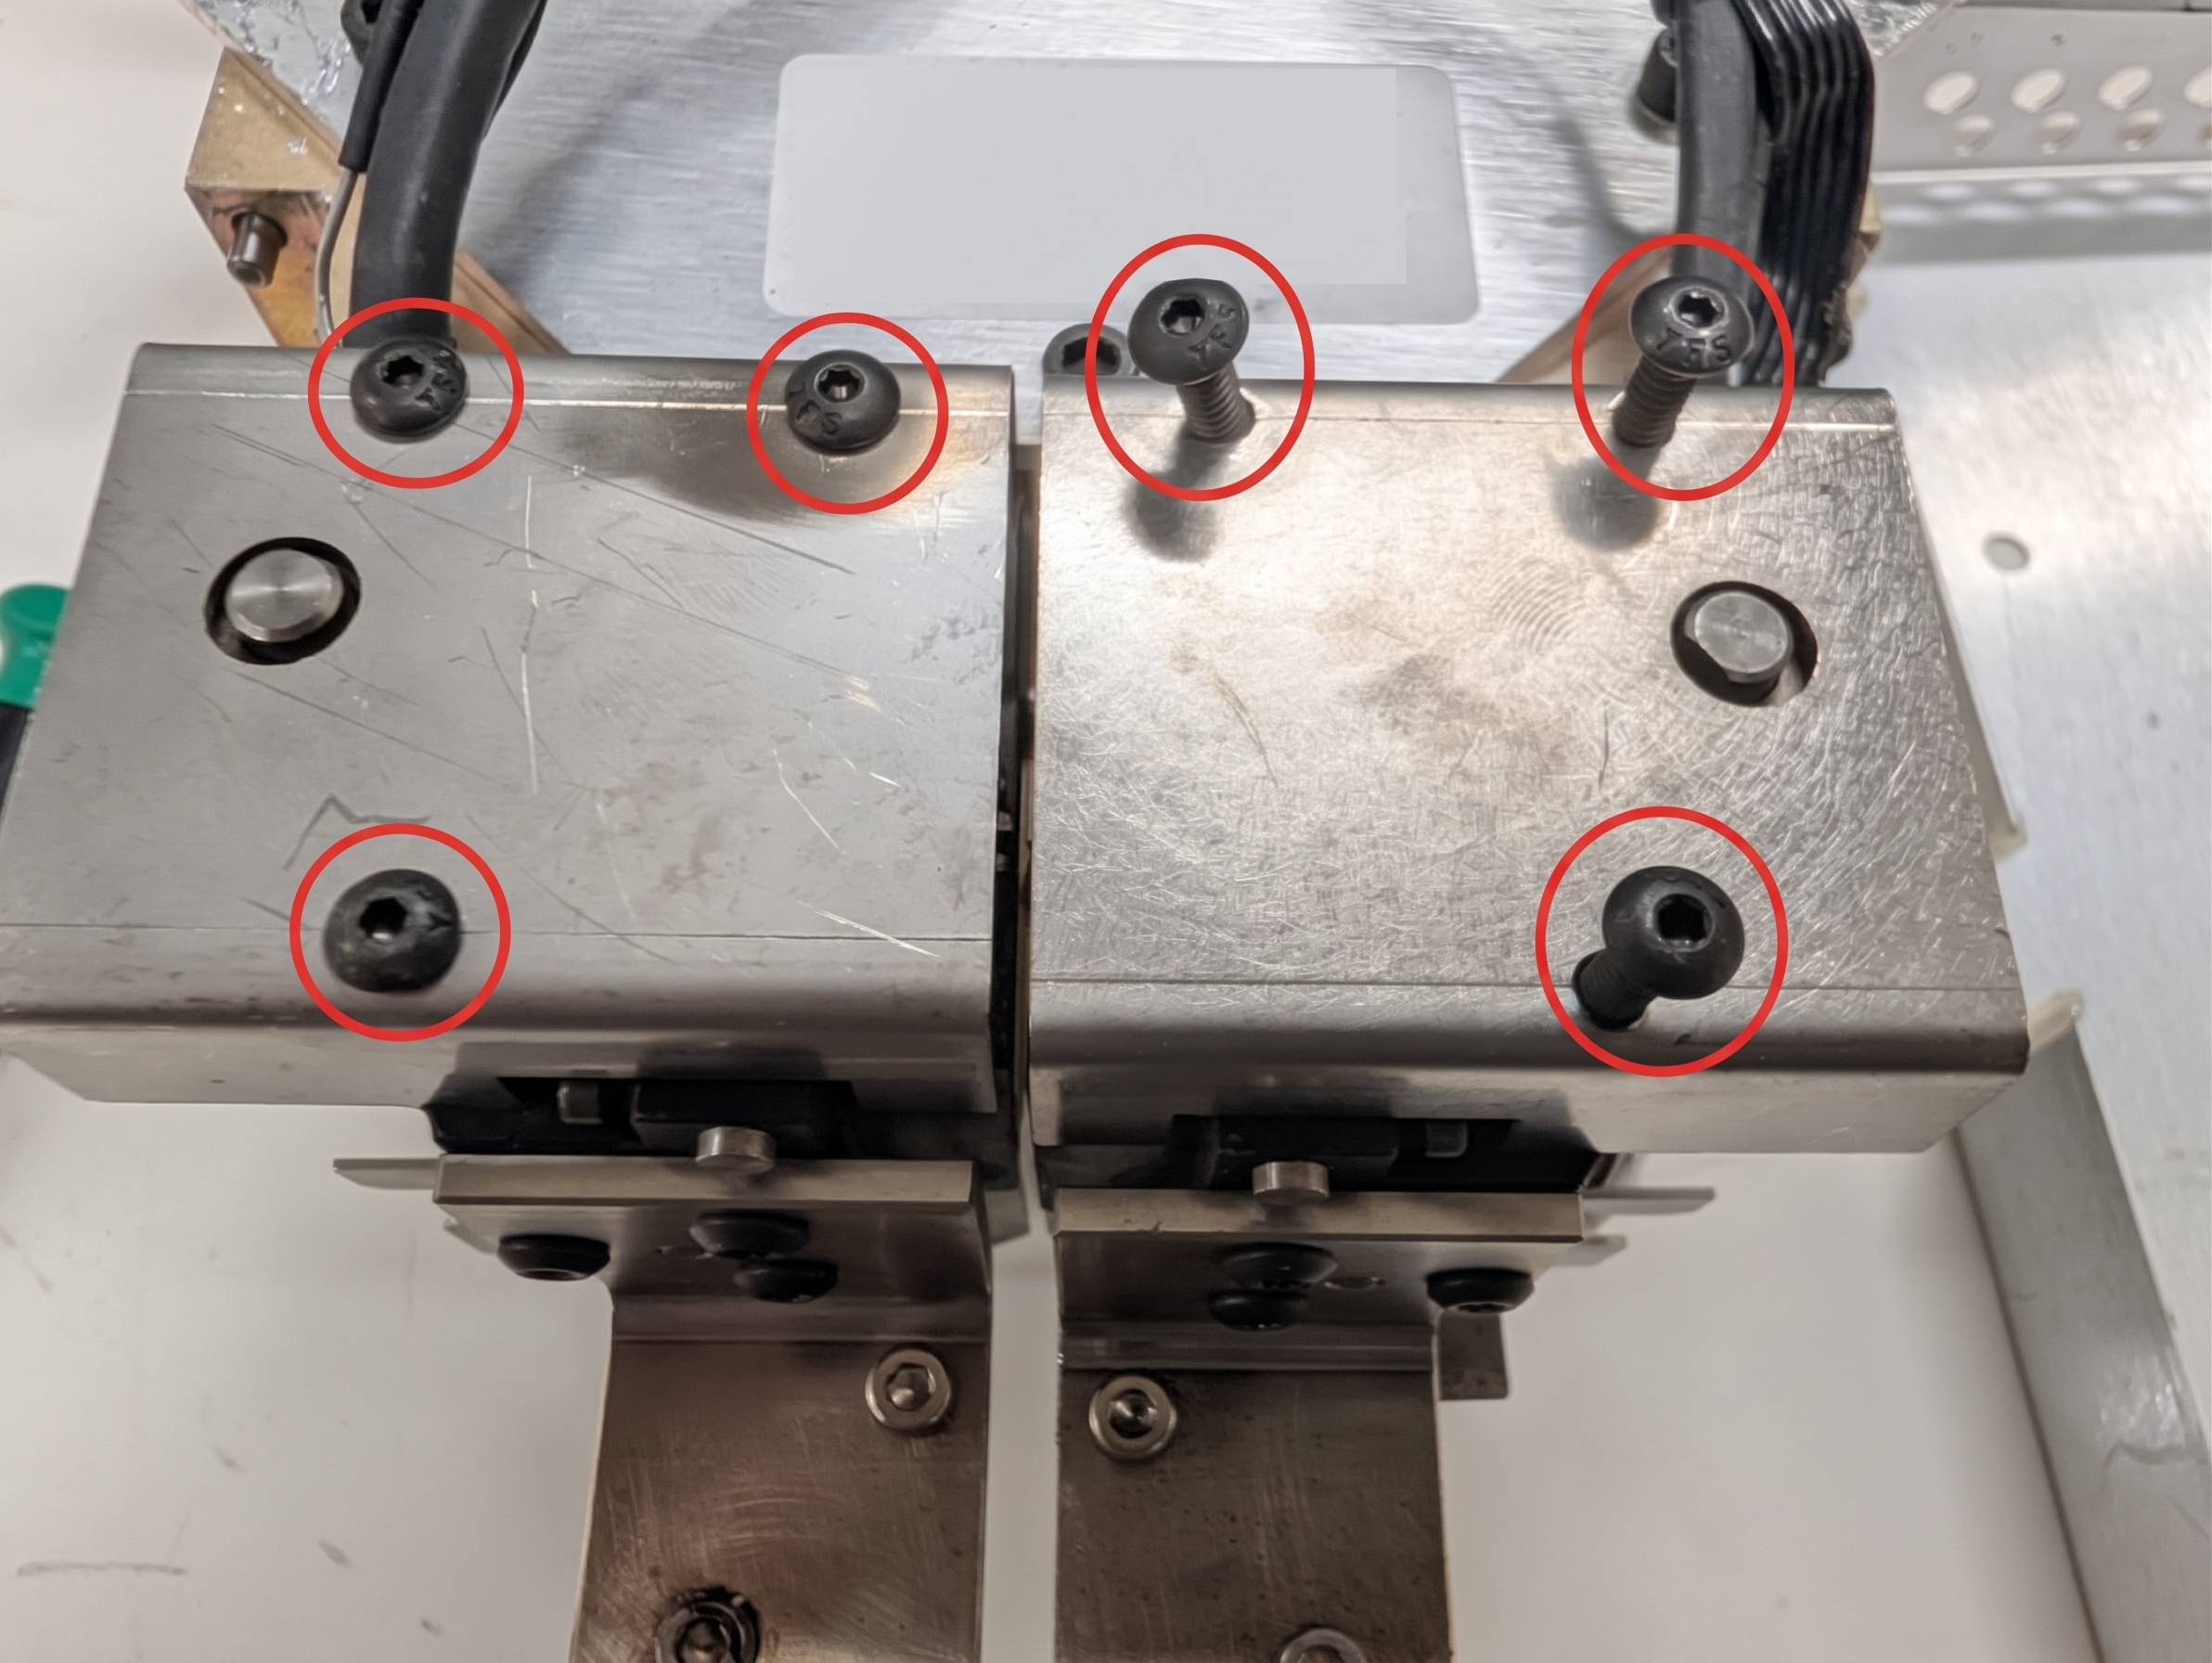
Remove the metal side cover by undoing the 4 phillips screws on the side of the cover to expose the internal electronics and drive assembly.
Be careful not to pull on any wiring harnesses while removing the covers.
Once opened, you’ll have access to the extruder motor wiring.
Step 3 – Disconnect and Remove the Motor
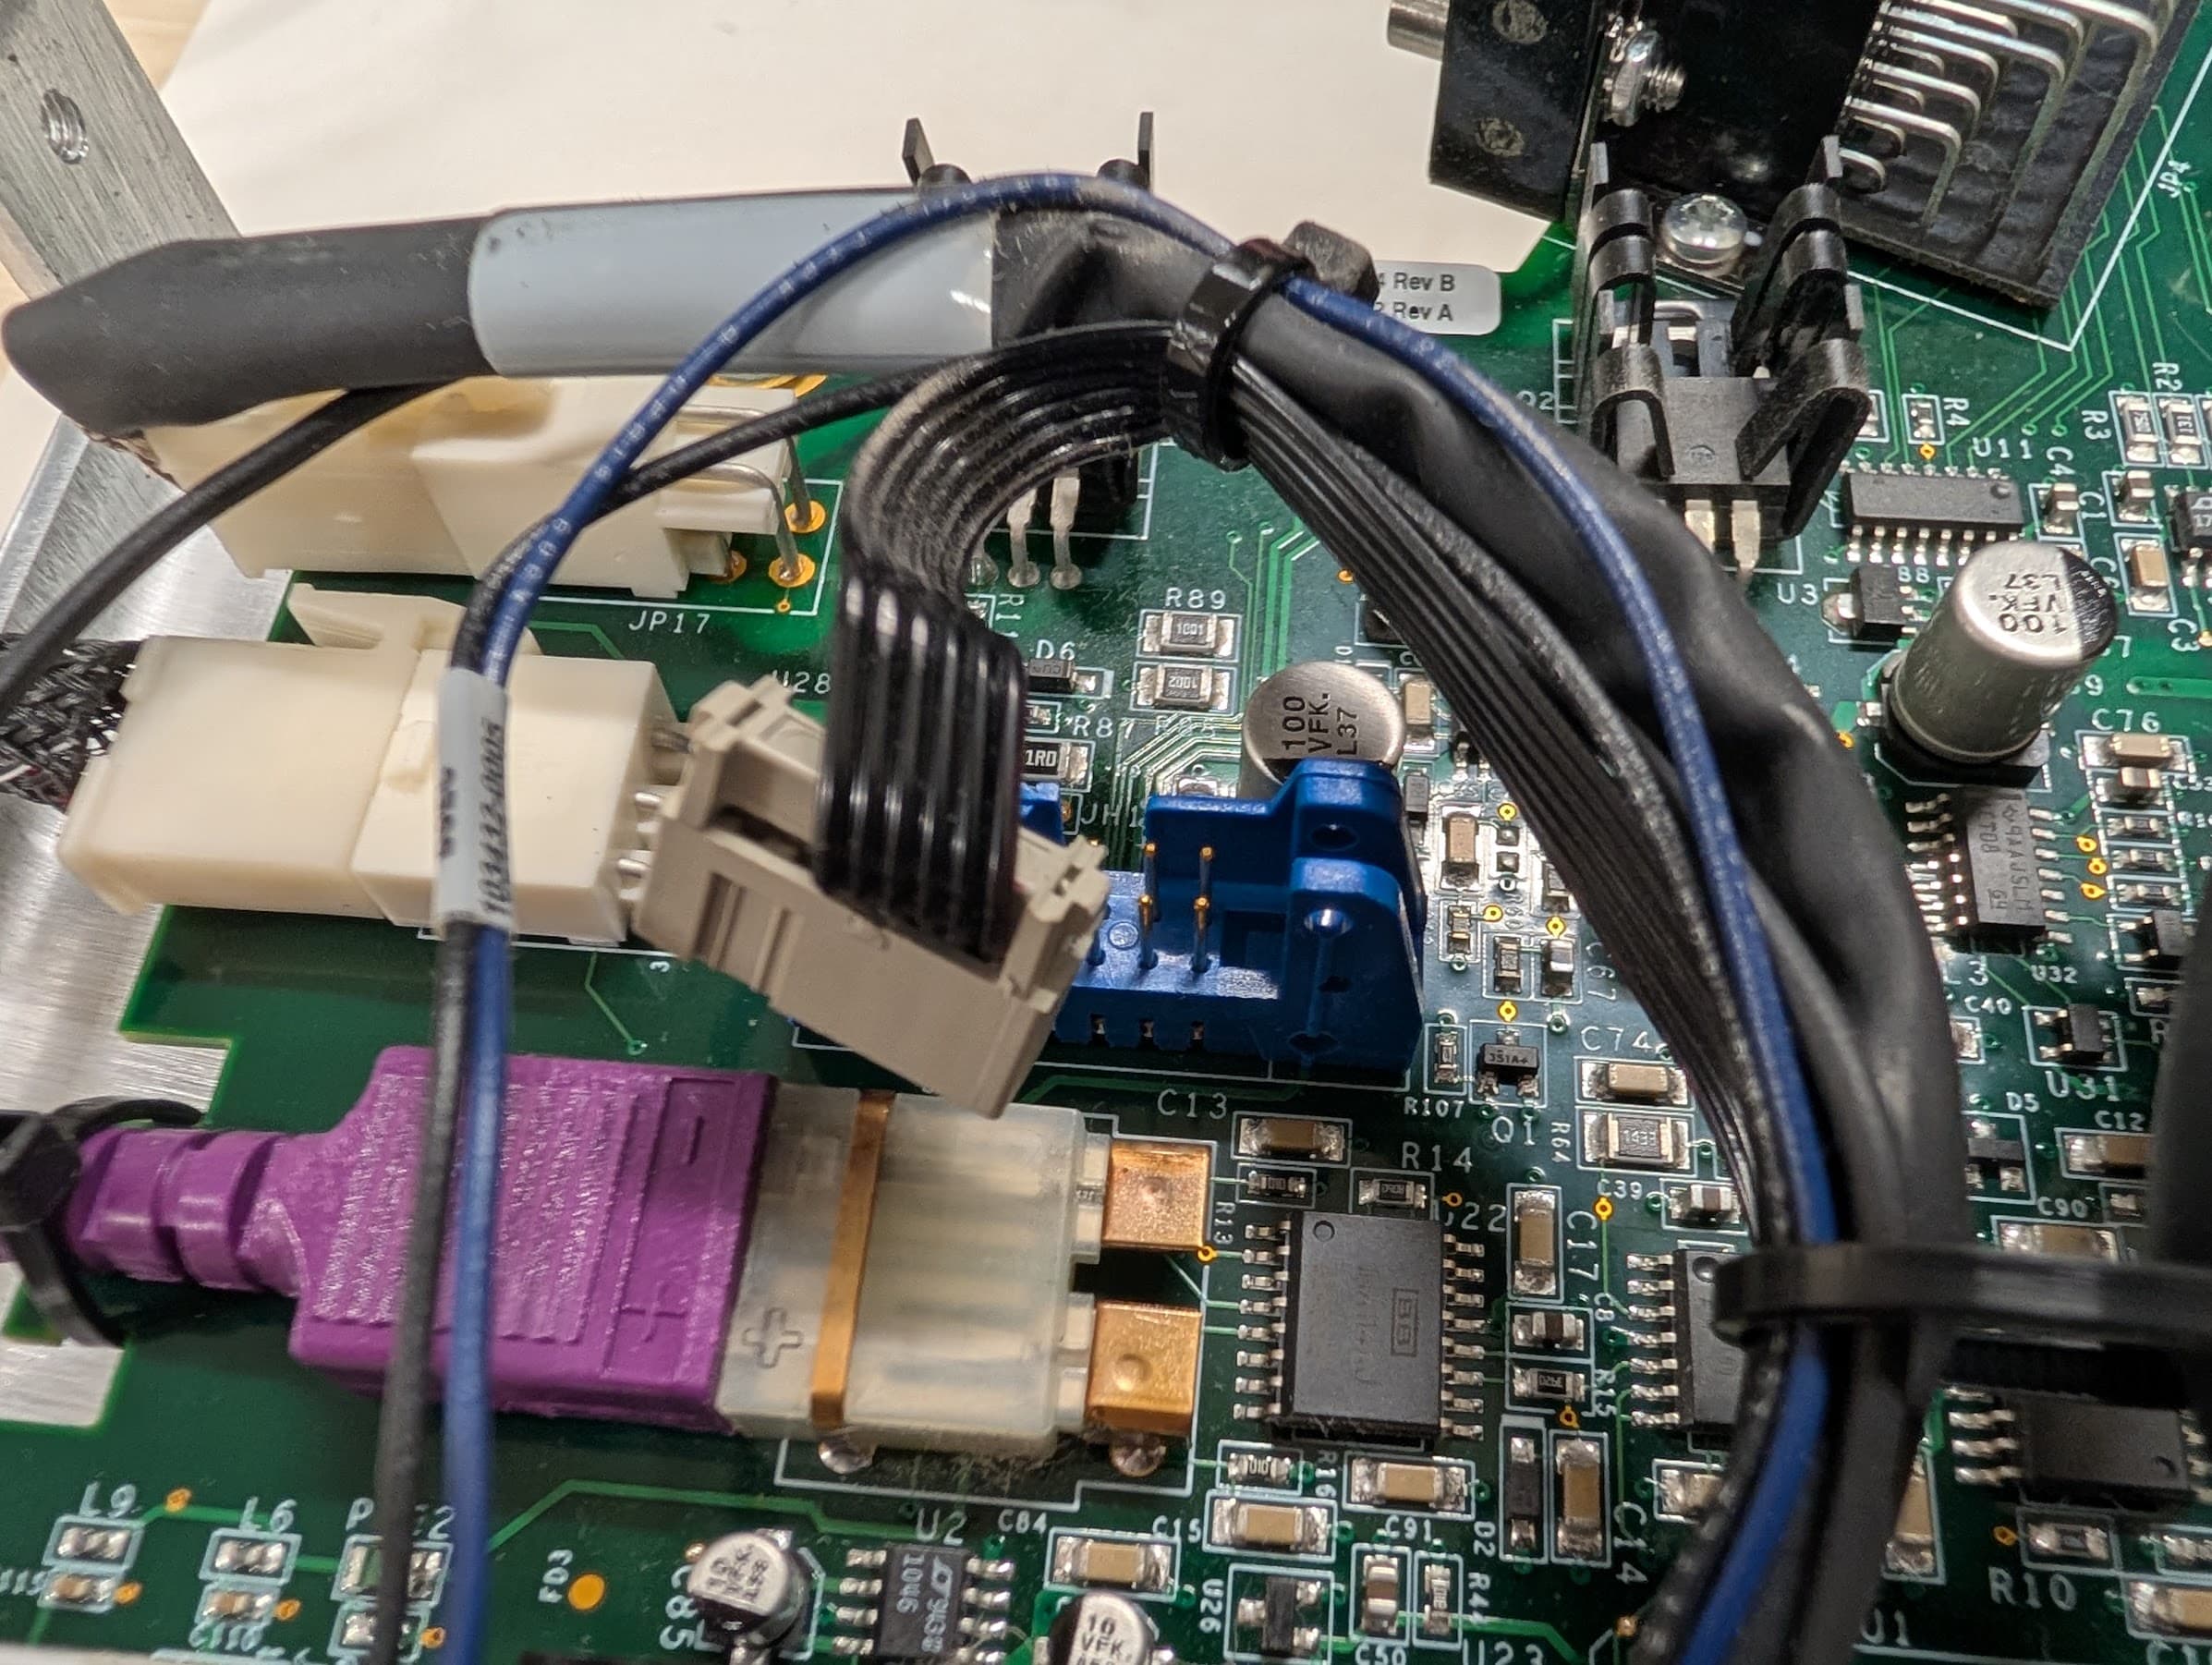
Disconnect the motor connector from the control board.
Remove the metal gearbox covers by undoing the 3 T8 bolts.
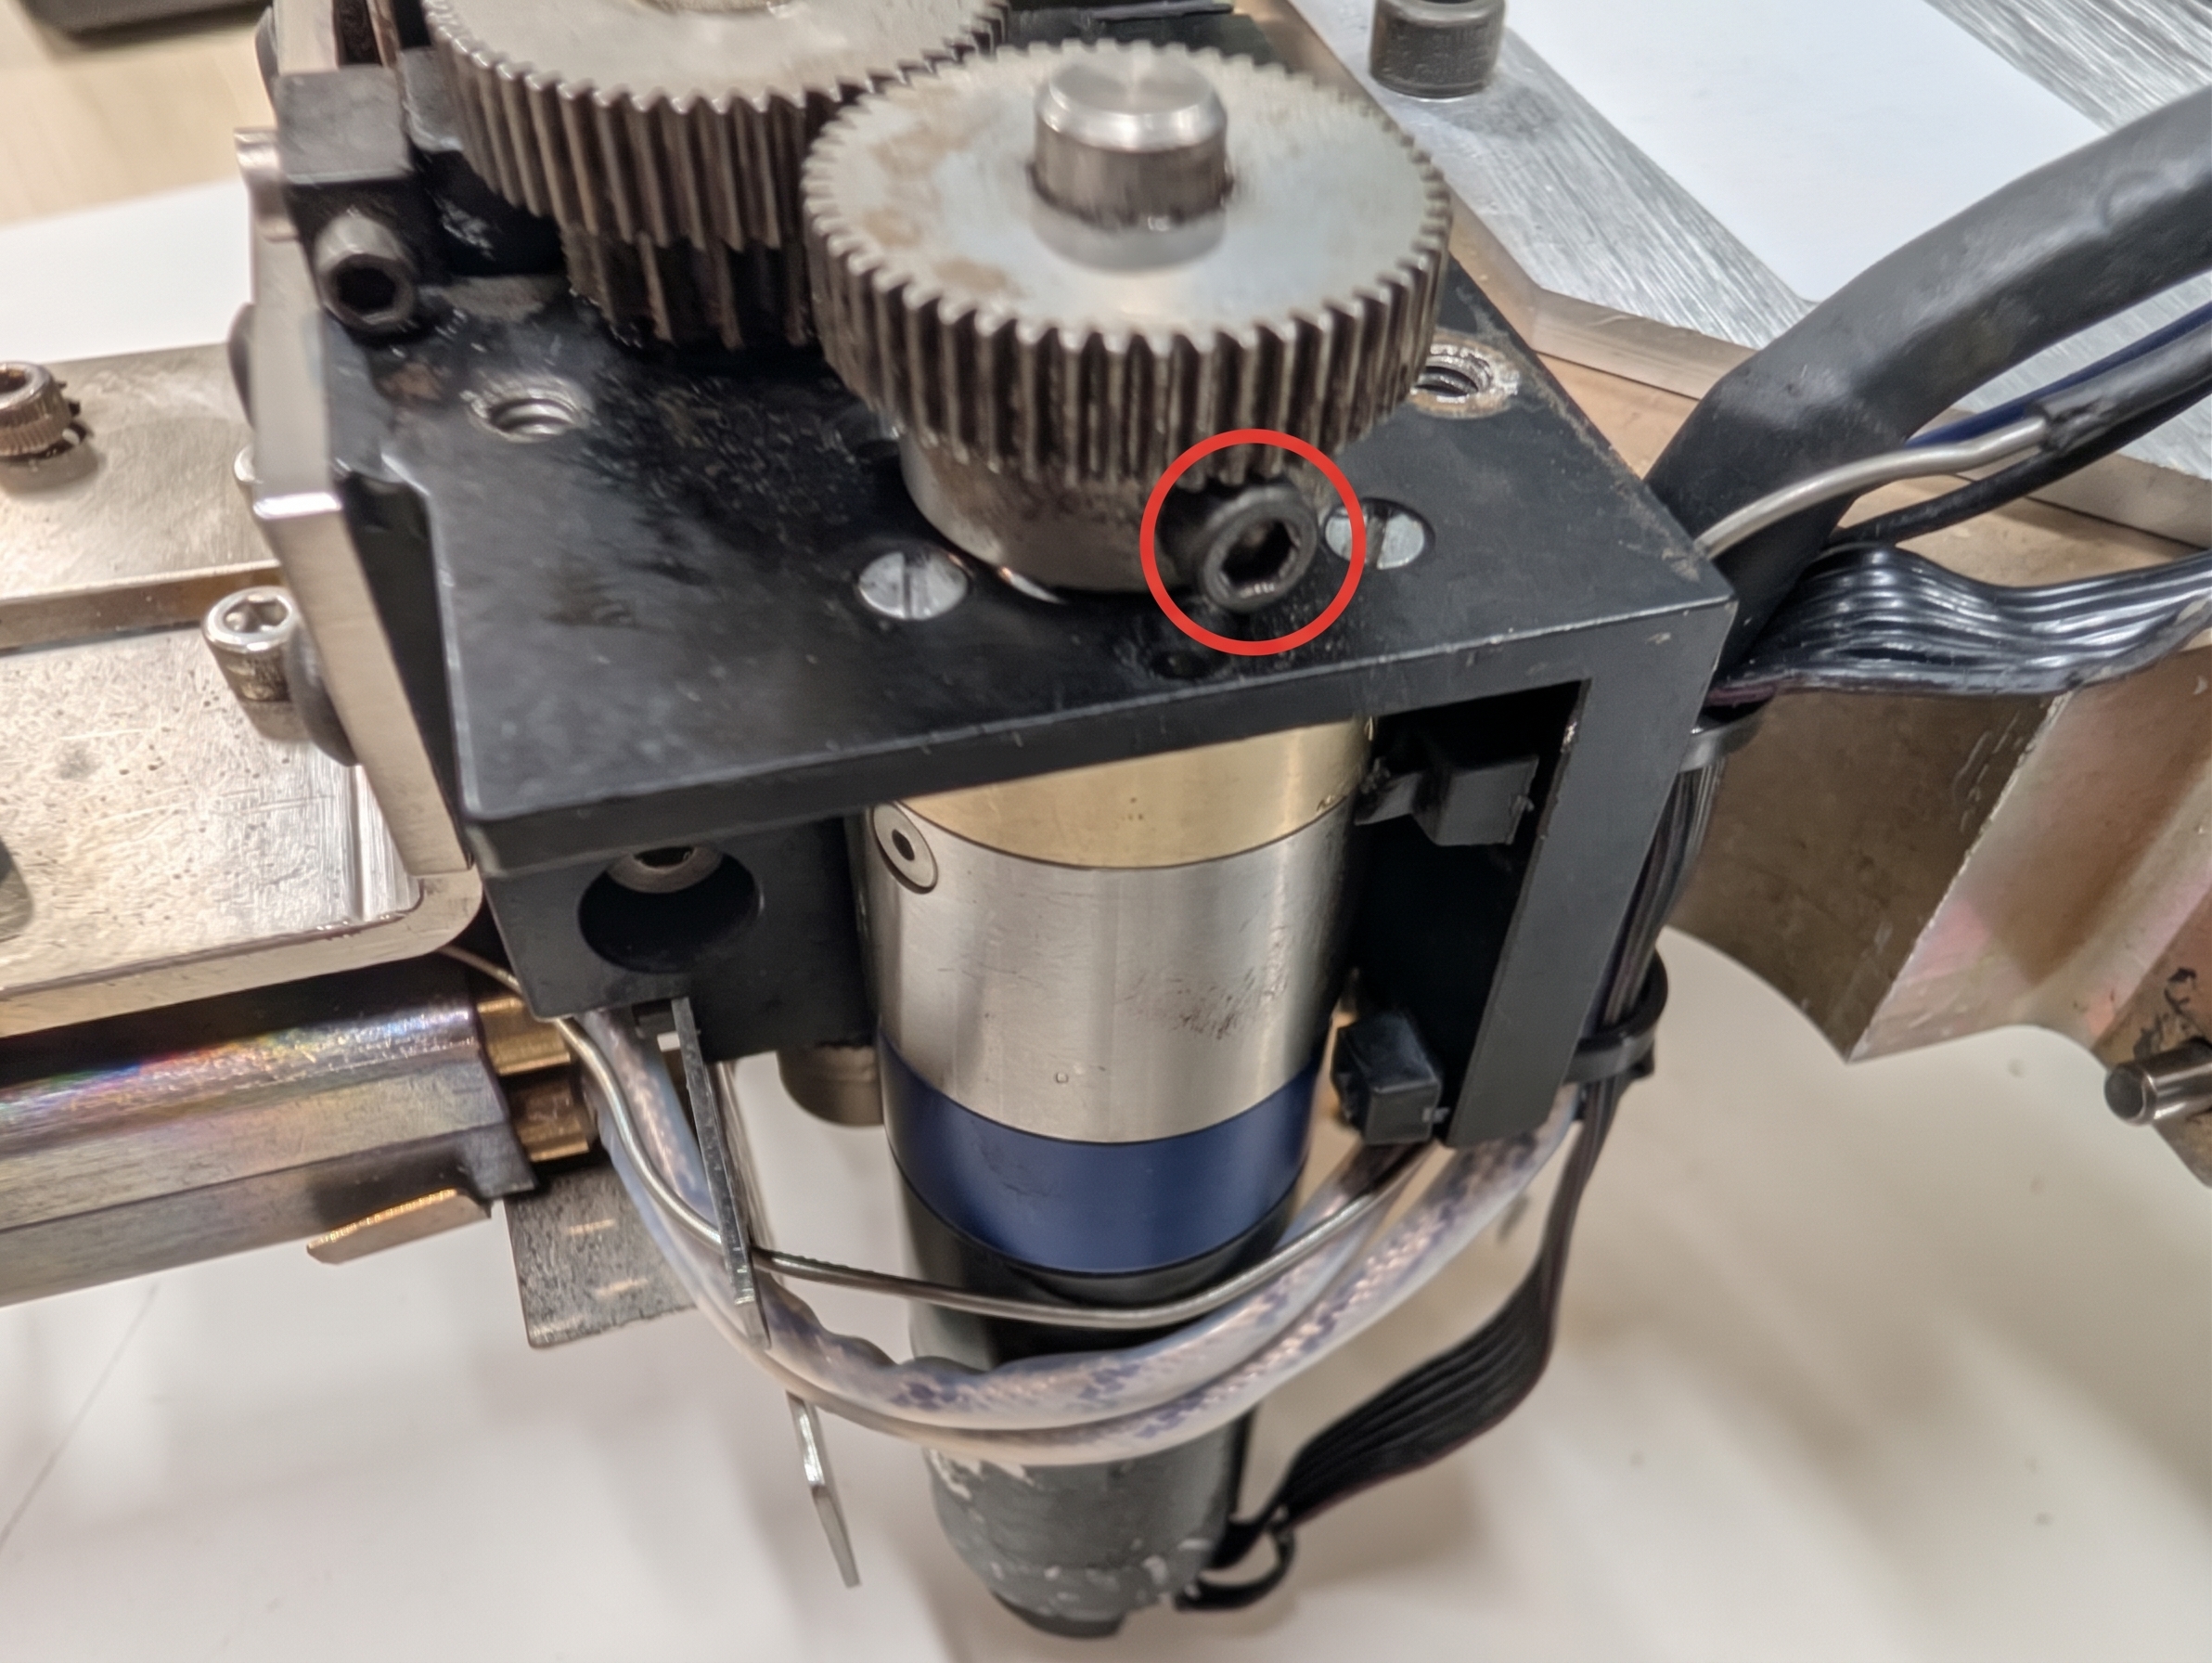
Then remove the single T6 bolt holding the motor into the gearbox.
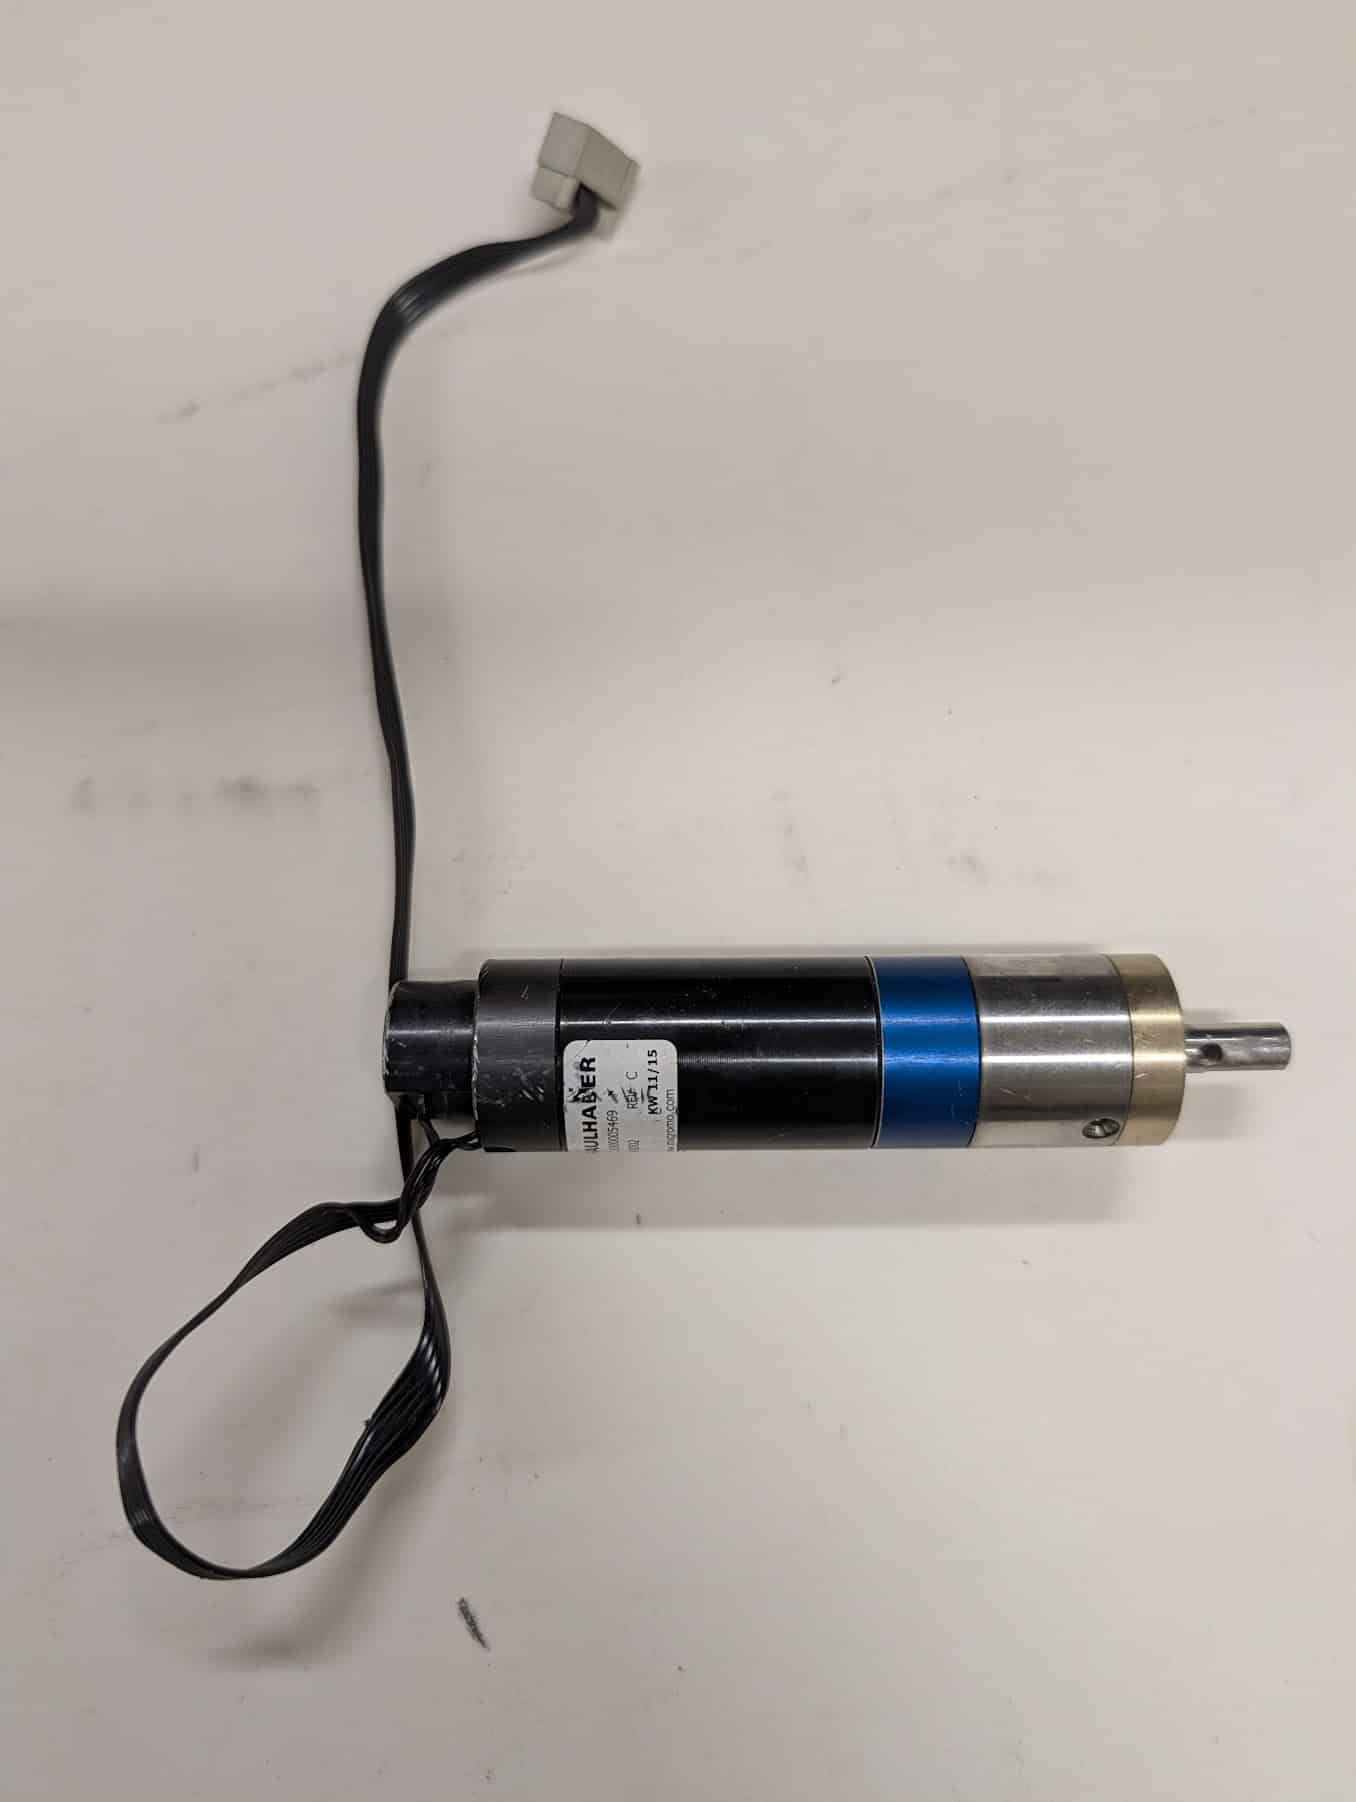
Carefully lift the motor out.
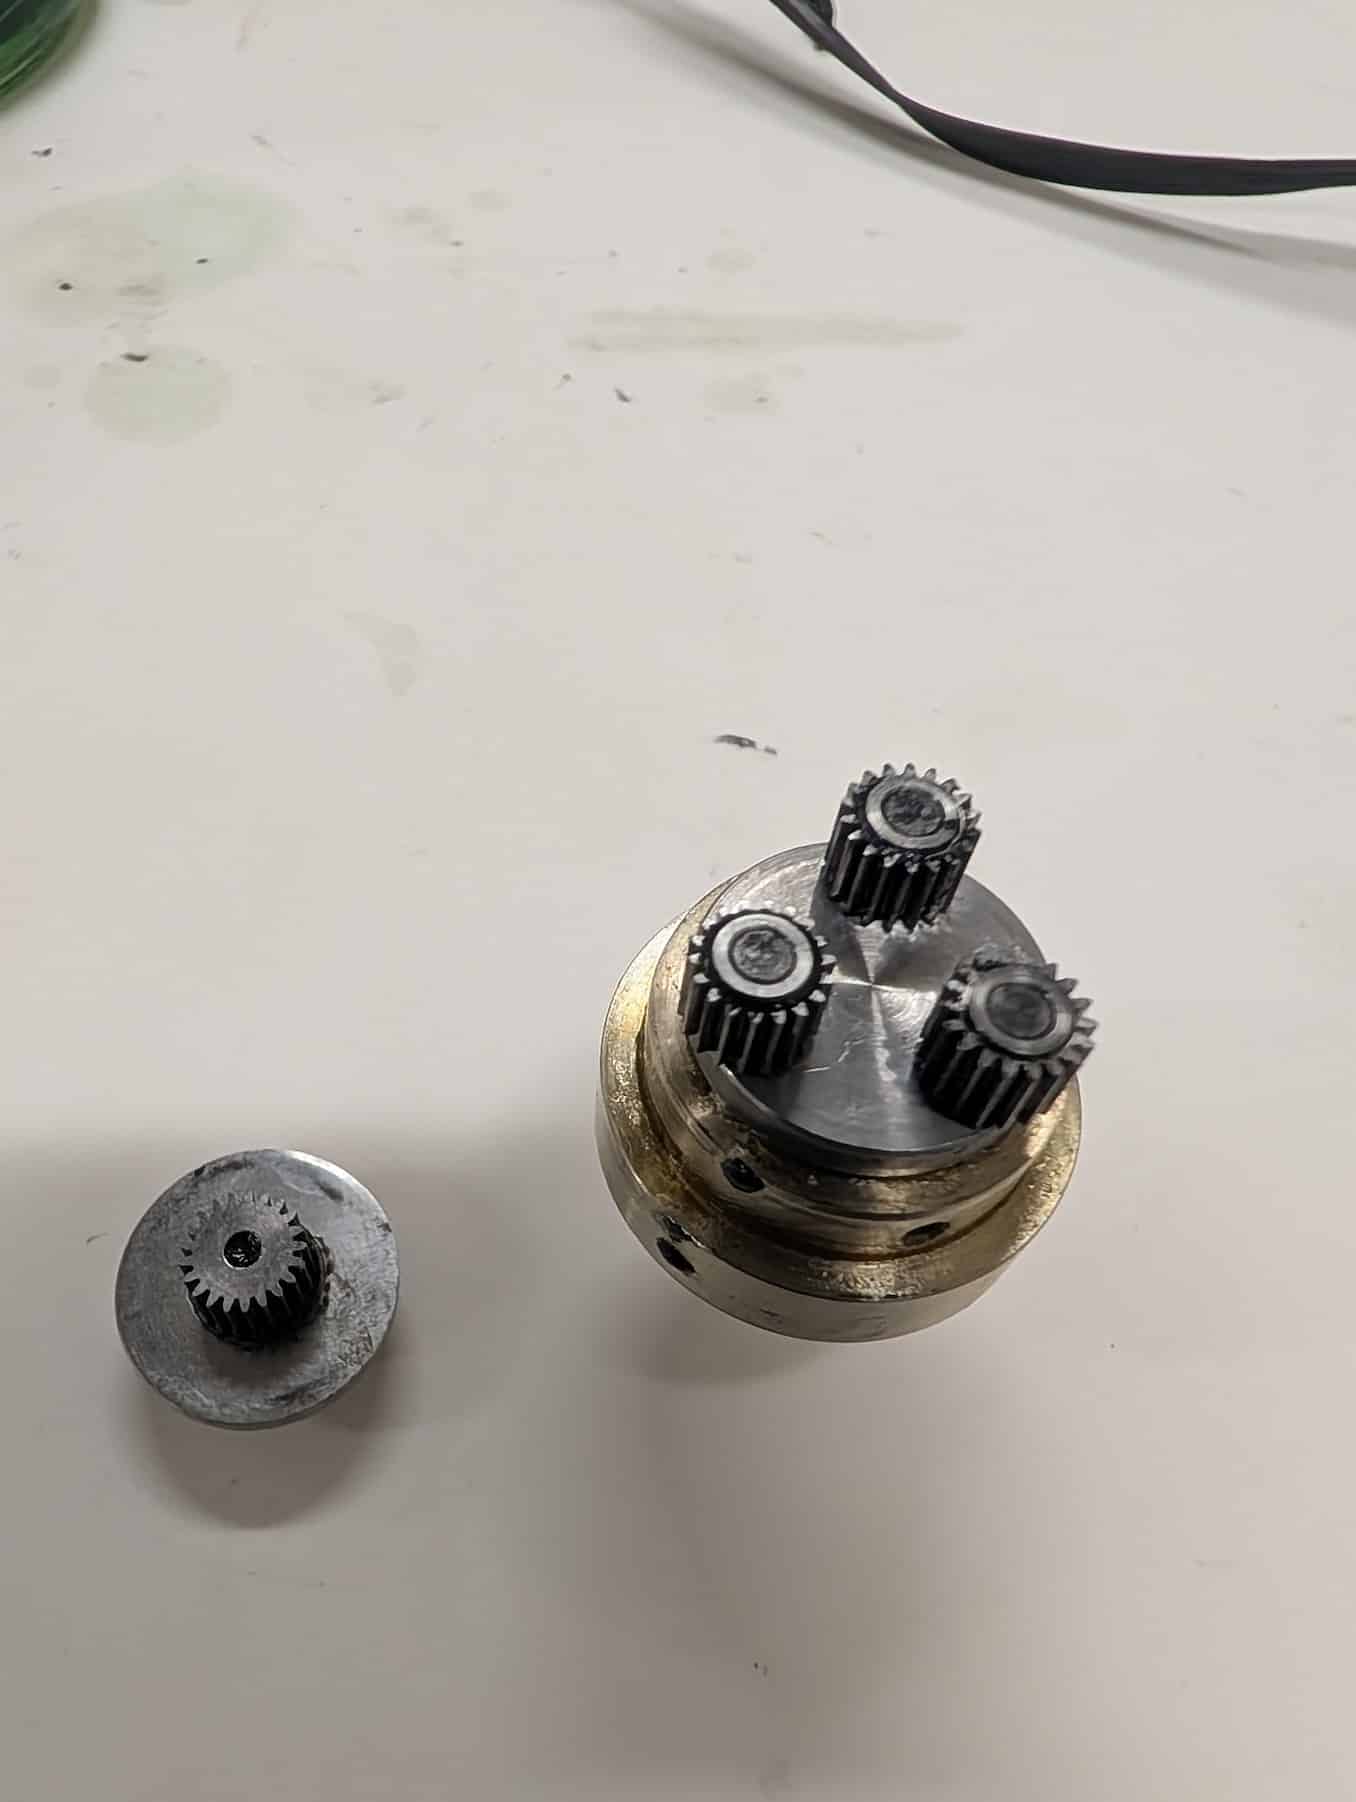
Step 4 – Disassemble the Gearbox
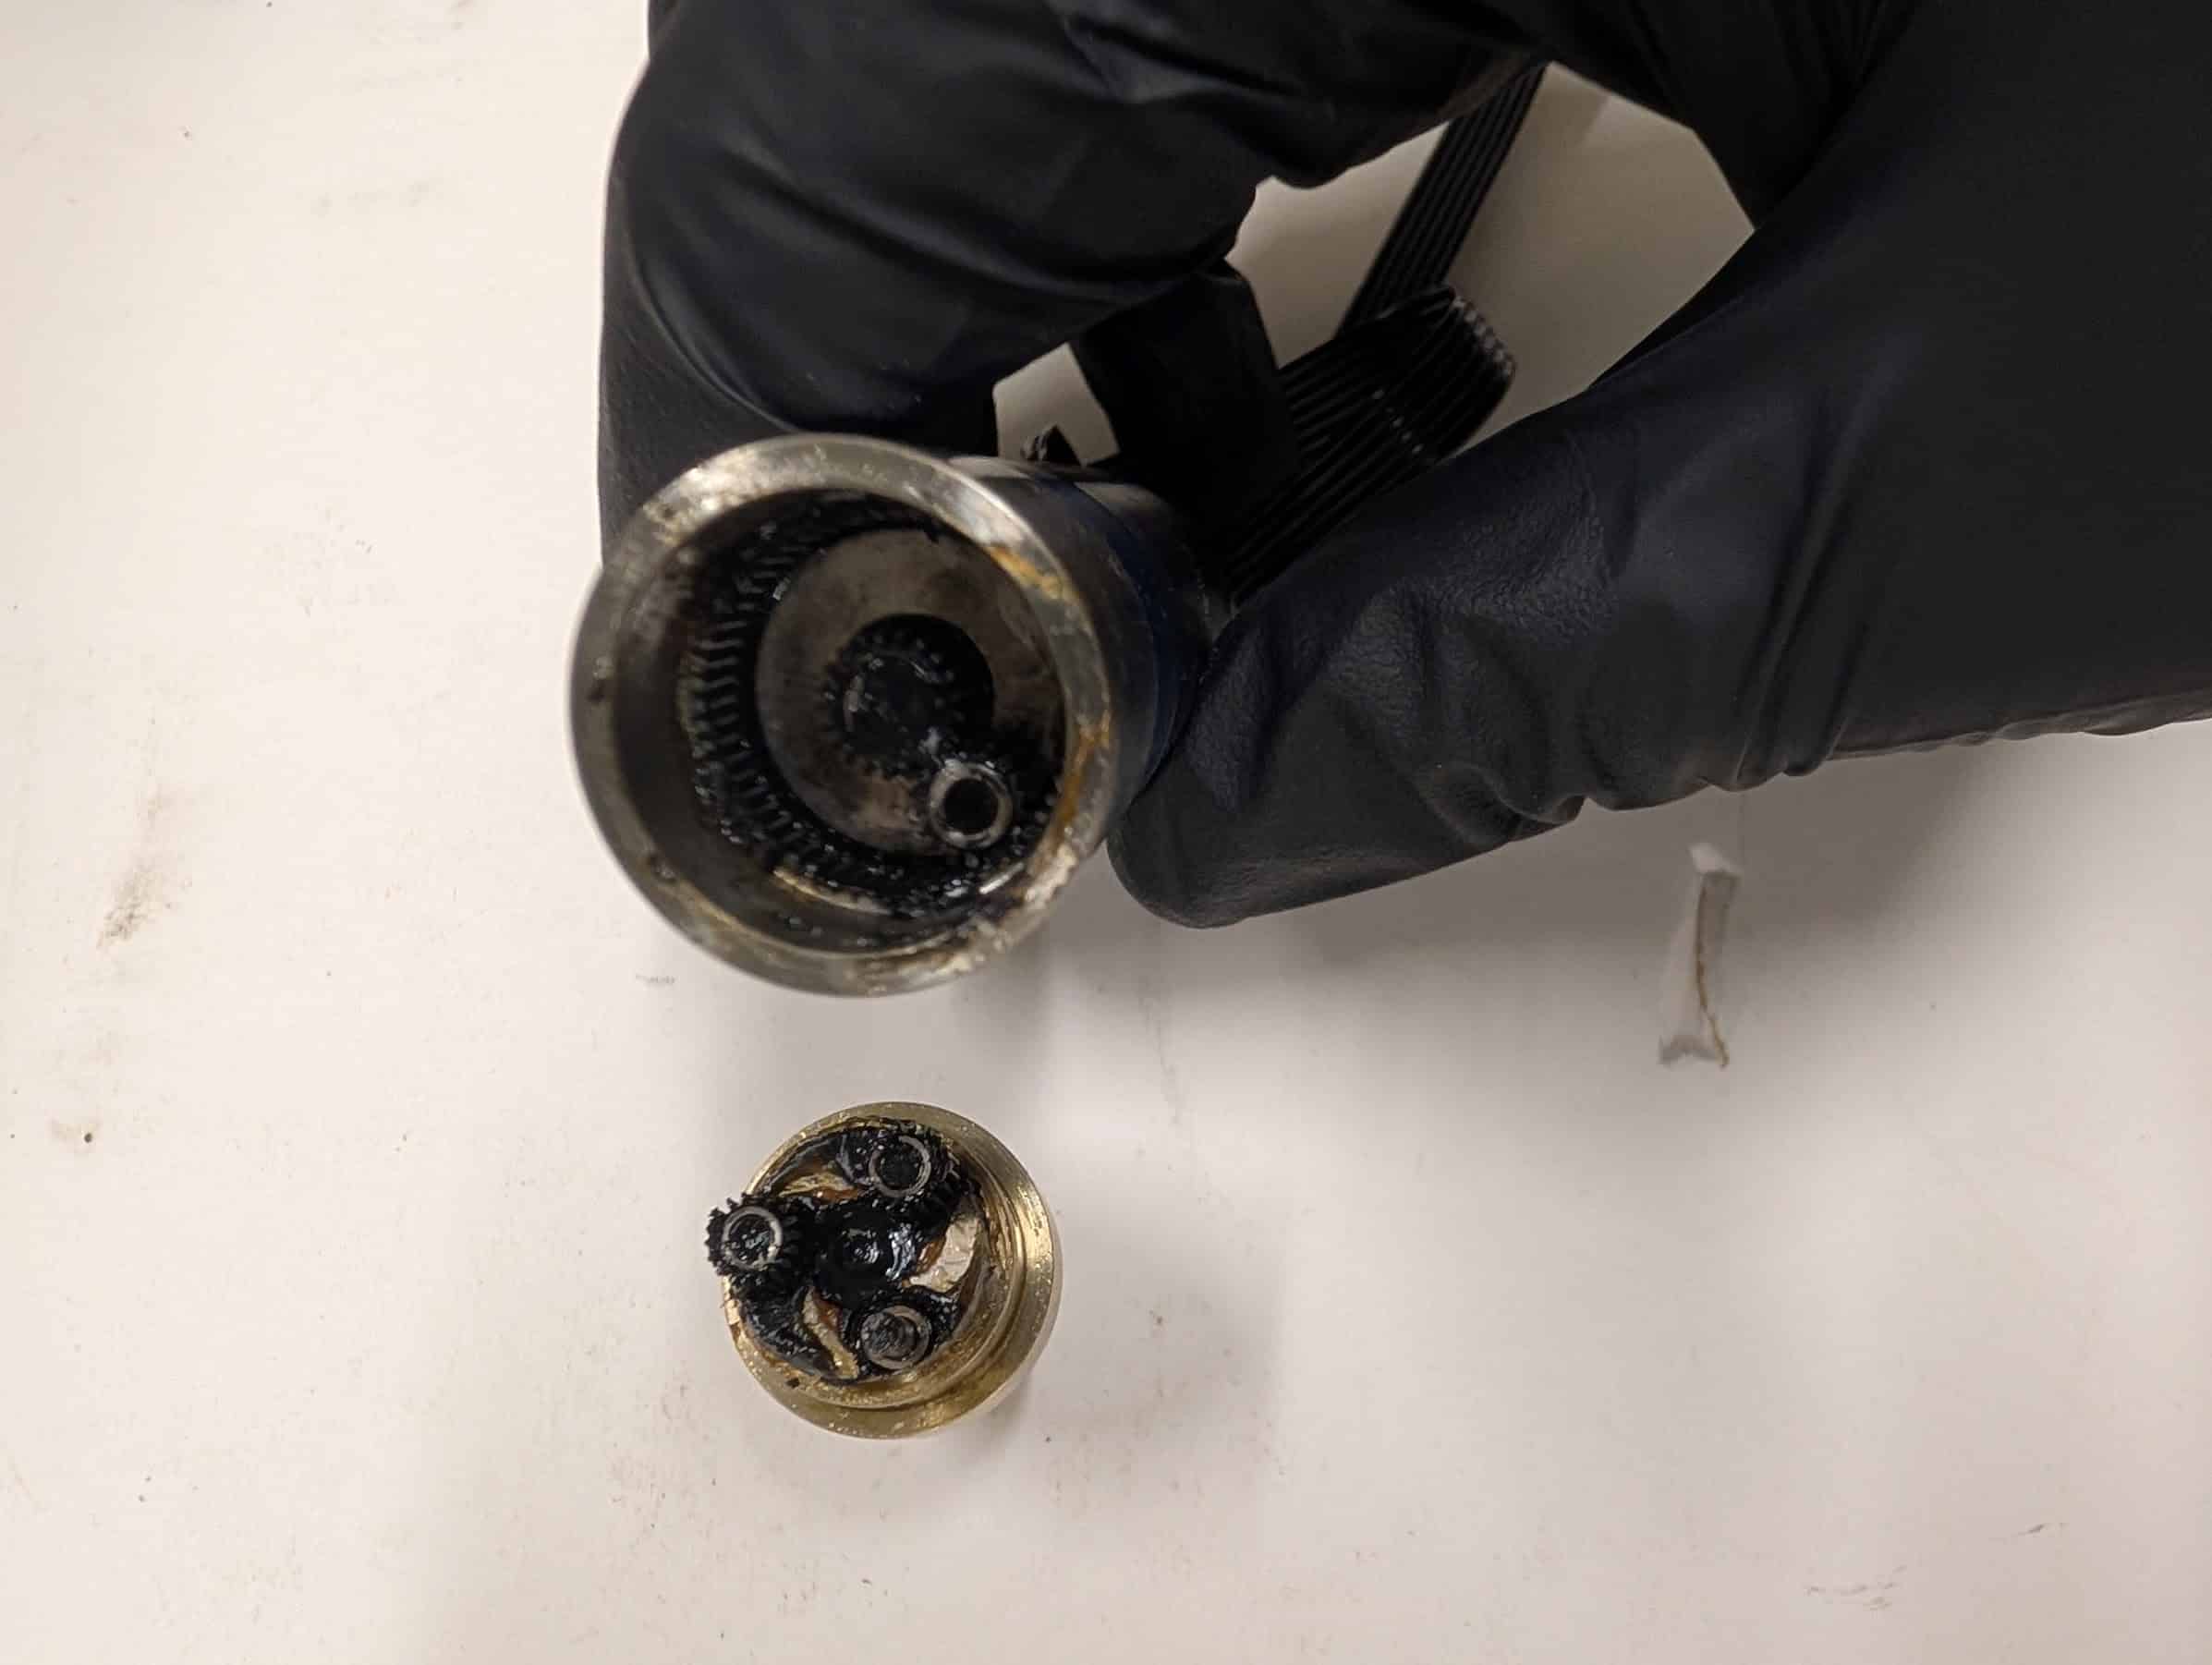
The blue cylindrical motor contains a planetary gearbox attached to the output shaft.
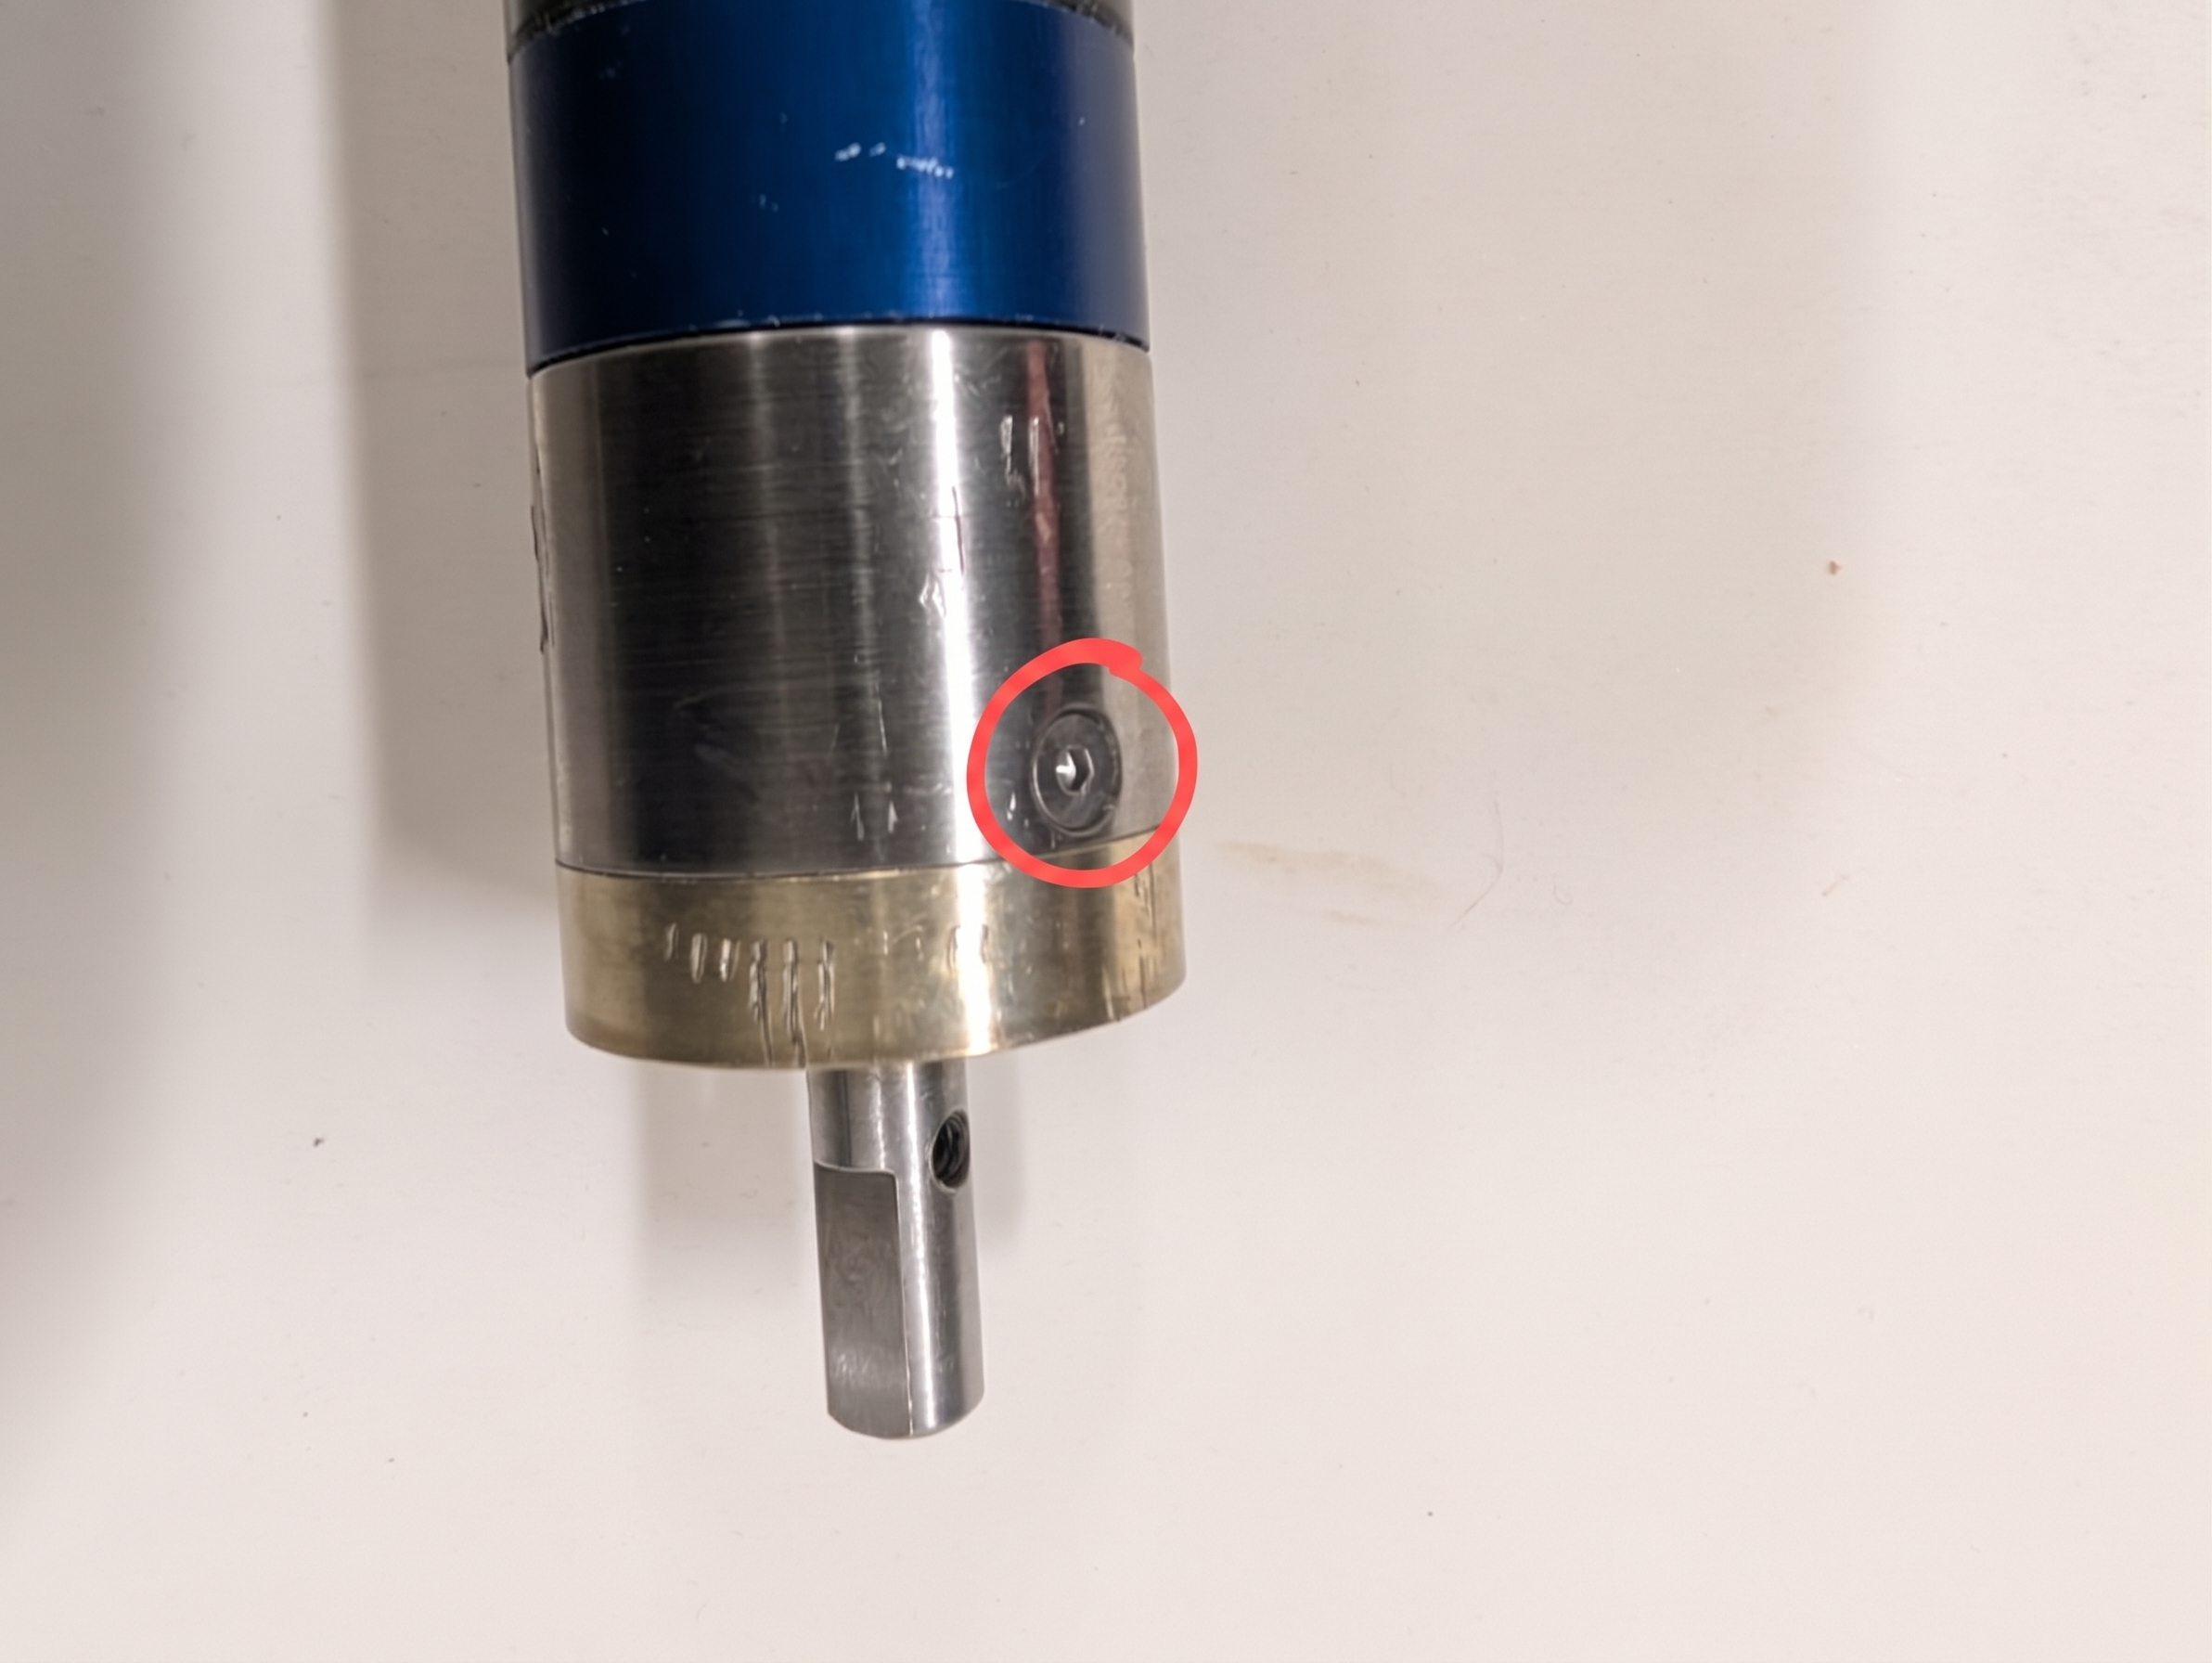
Remove the front cap by removed the T5 bolt to expose the planetary gear assembly.
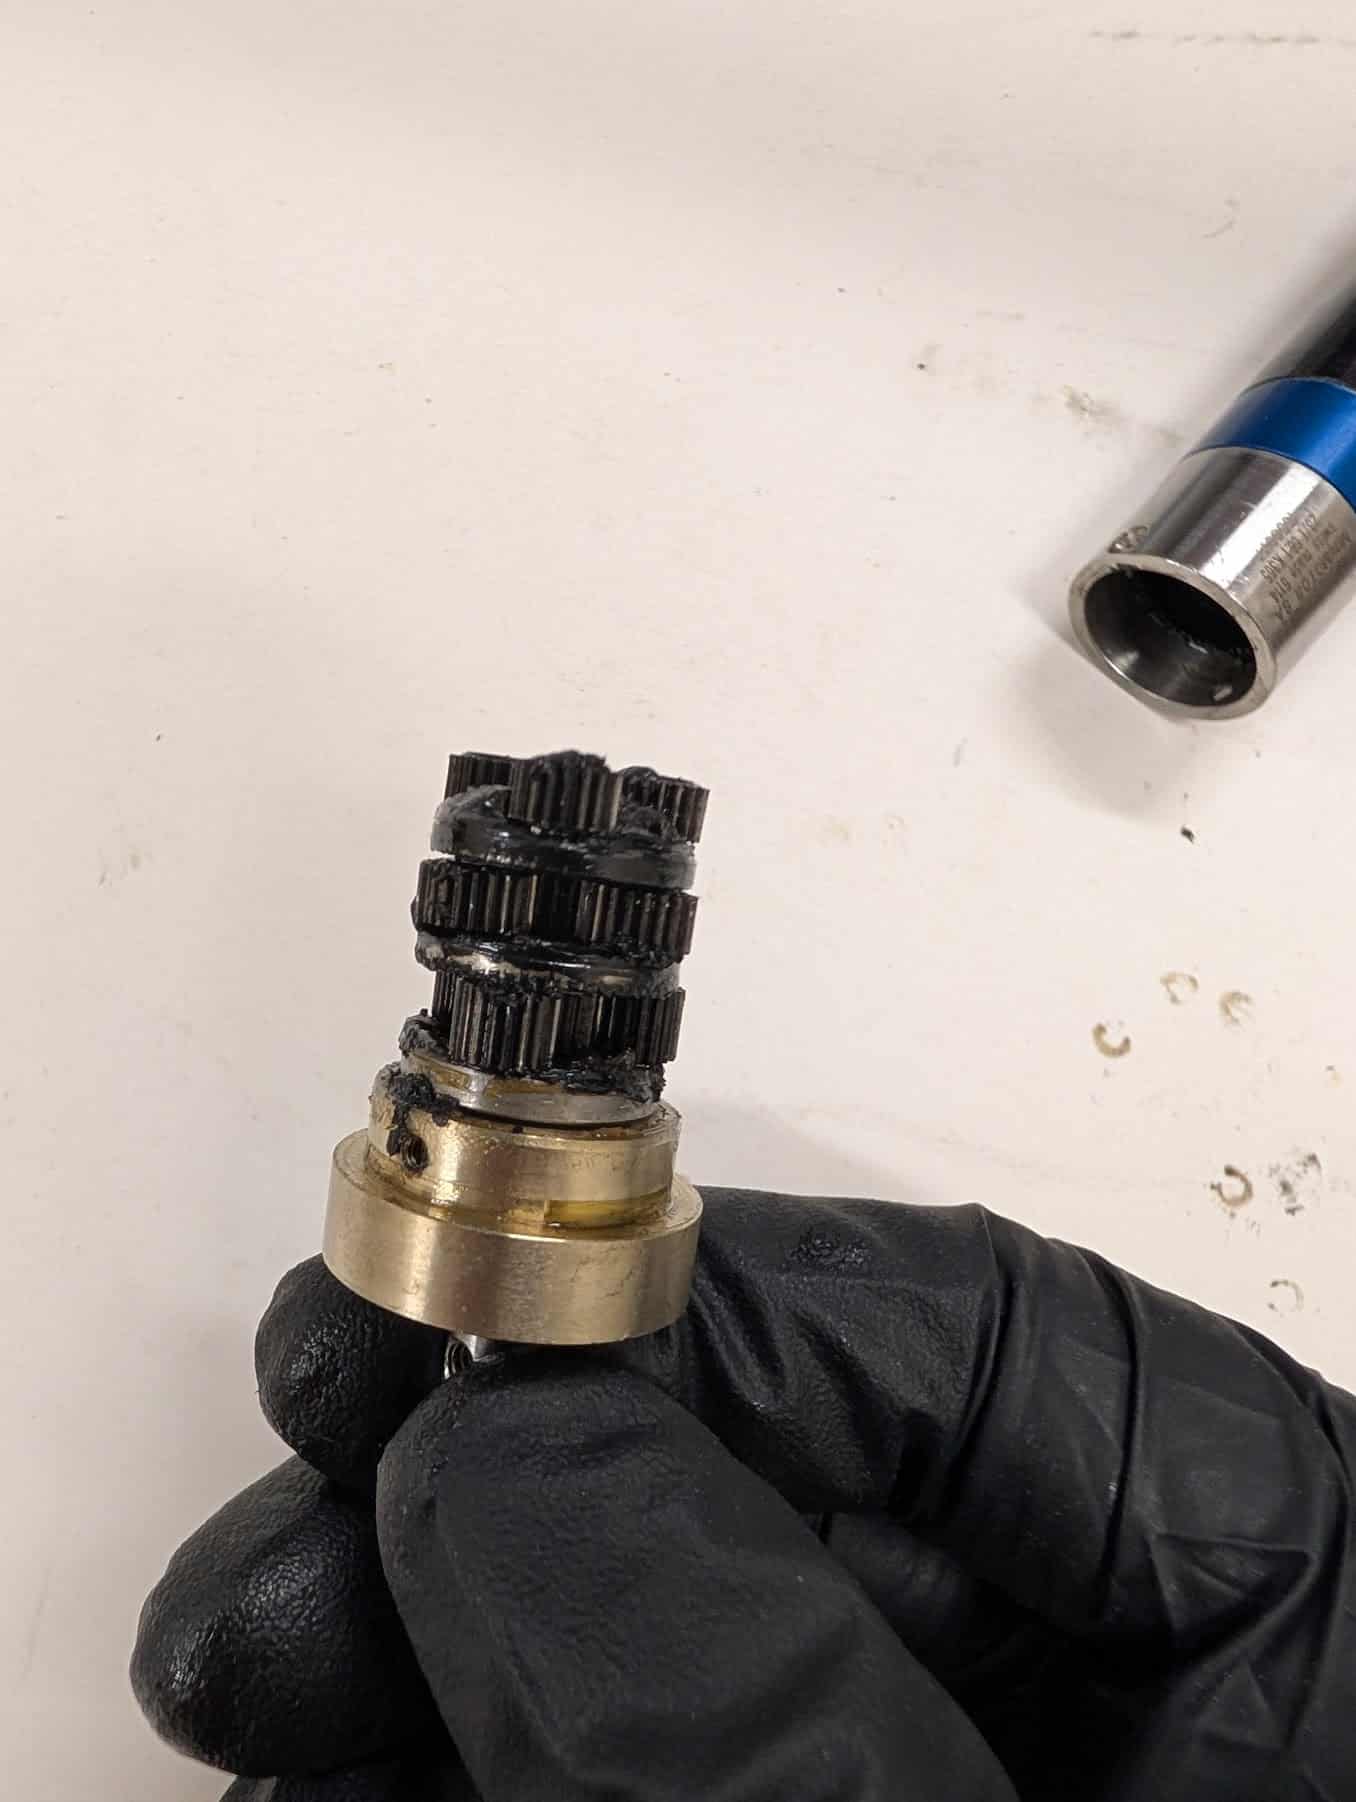
Take care to note the orientation of every component during disassembly (each level of gears has different sizes). Taking photos during this process can make reassembly much easier.
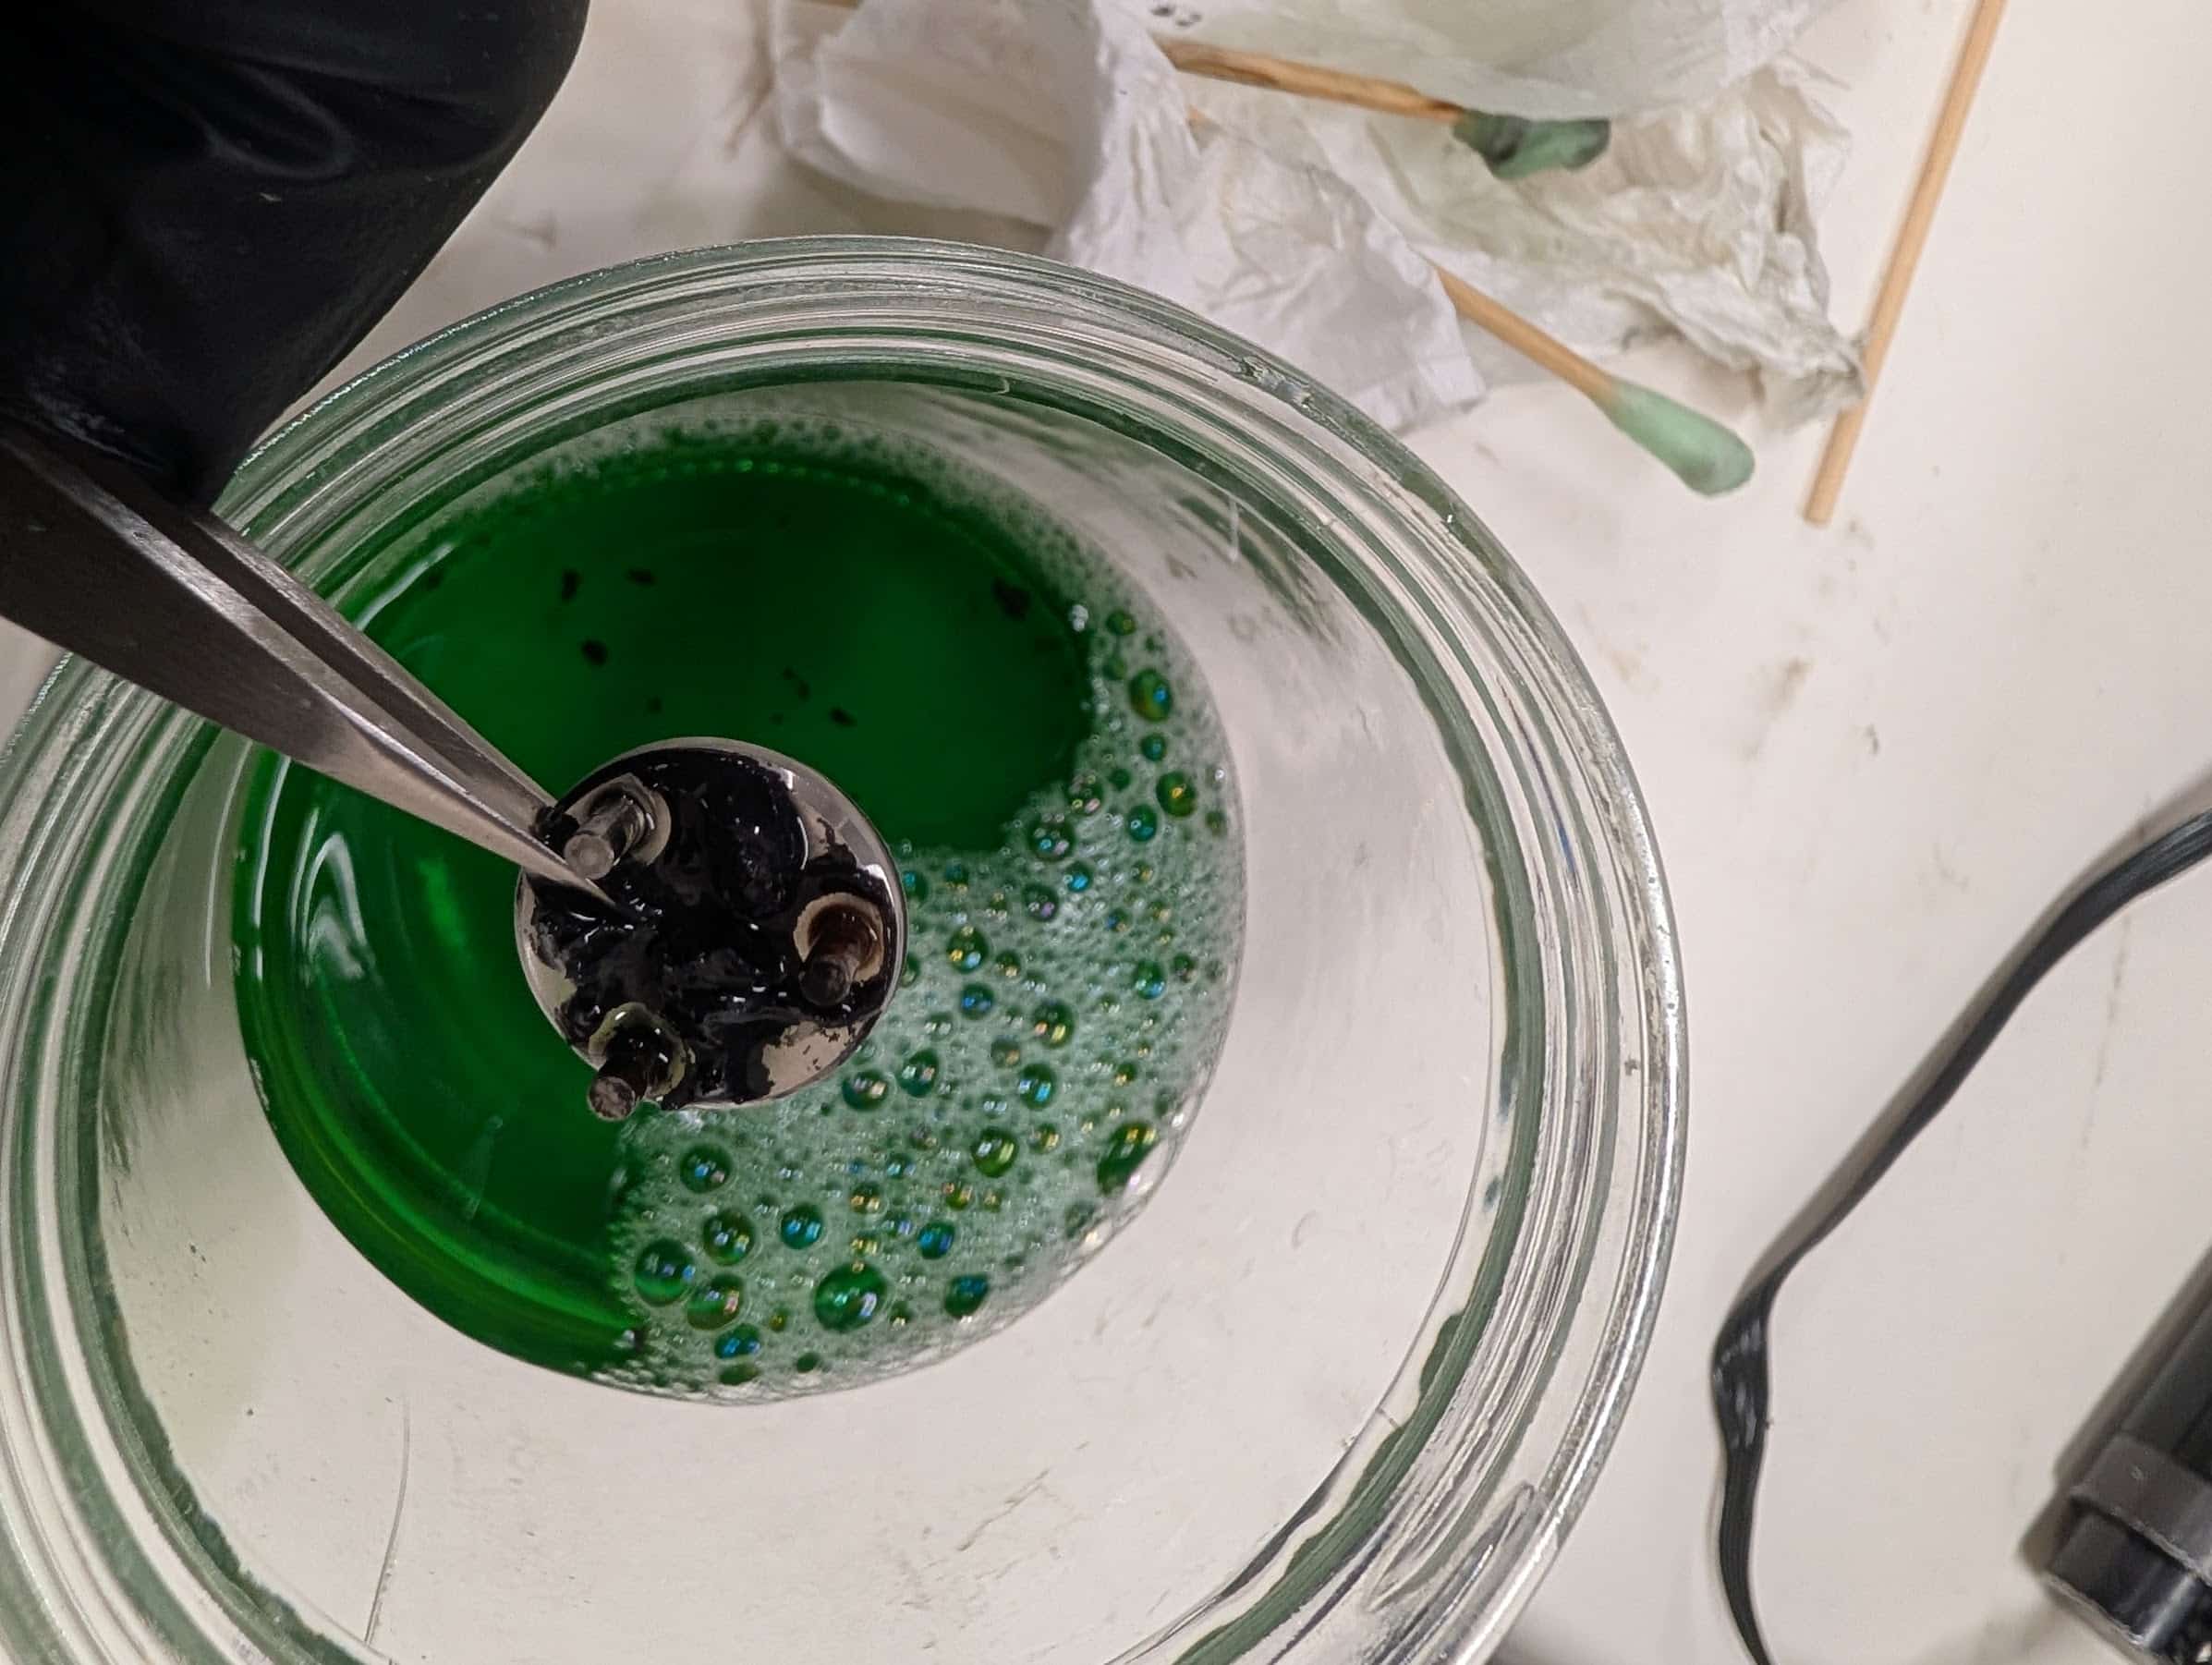
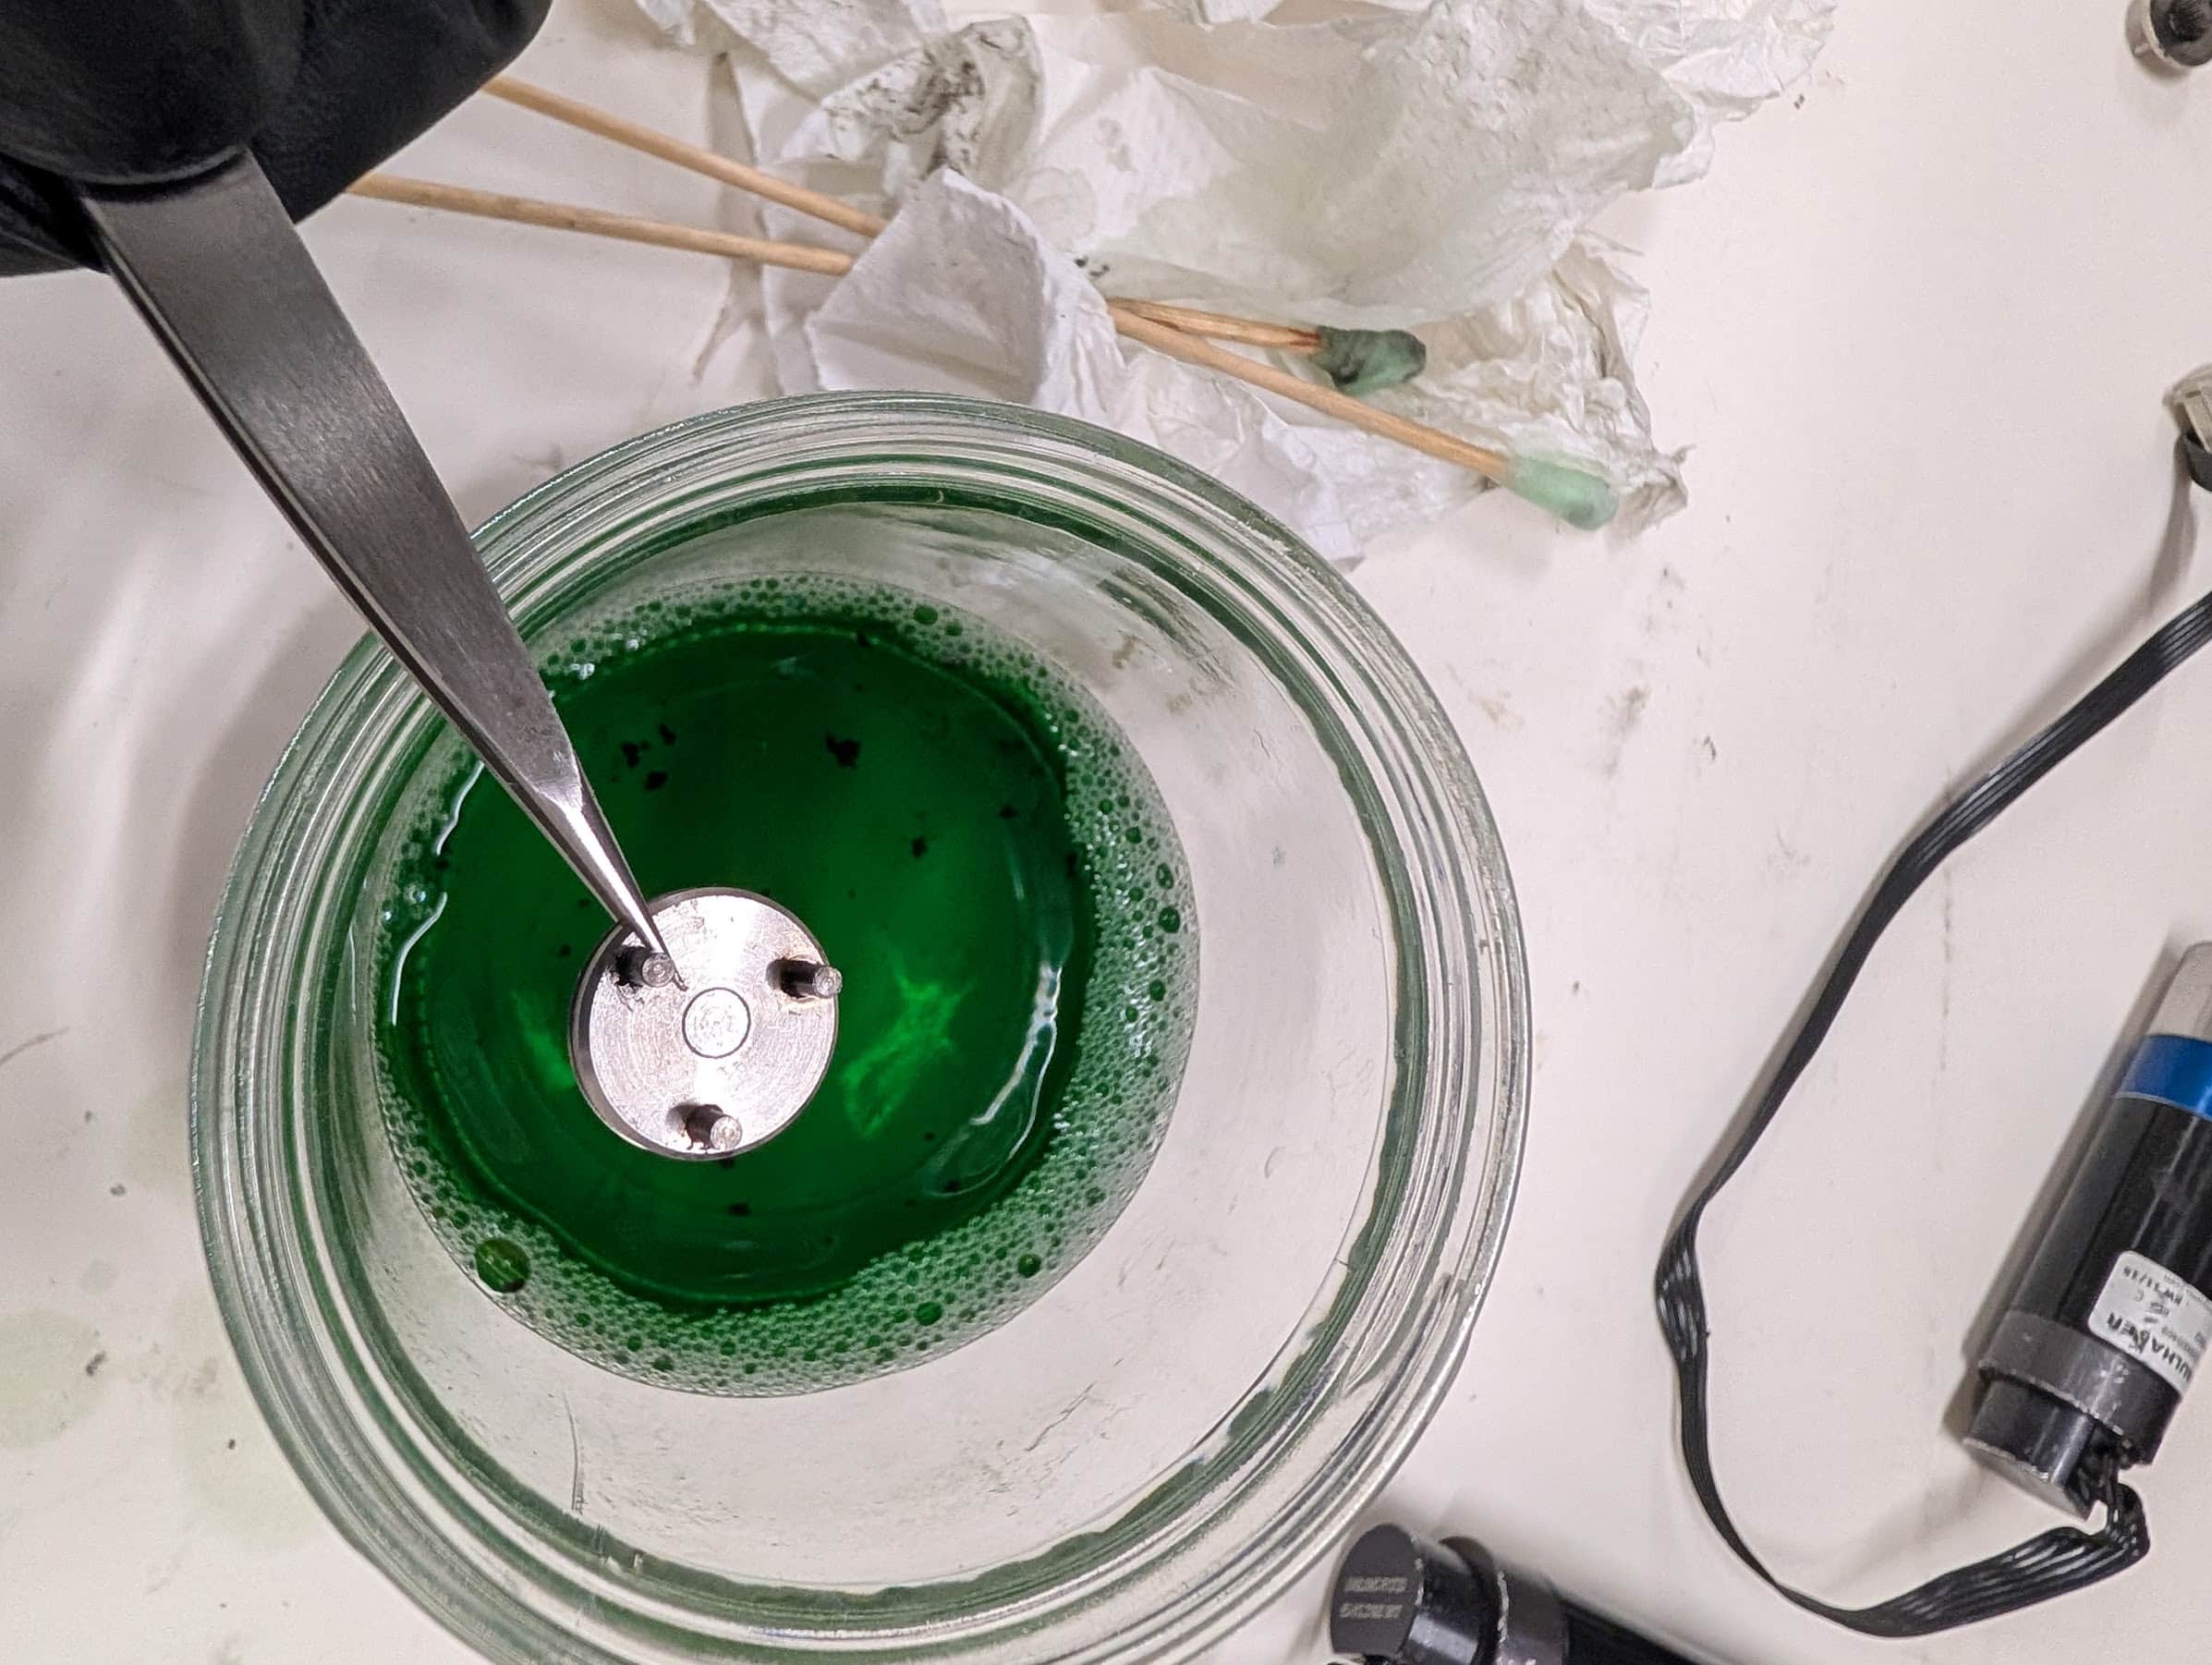
Step 5 – Clean Out the Old Grease
This is usually where the problem becomes obvious.
Instead of soft grease, you’ll typically find a thick, hardened material coating the gears and housing.
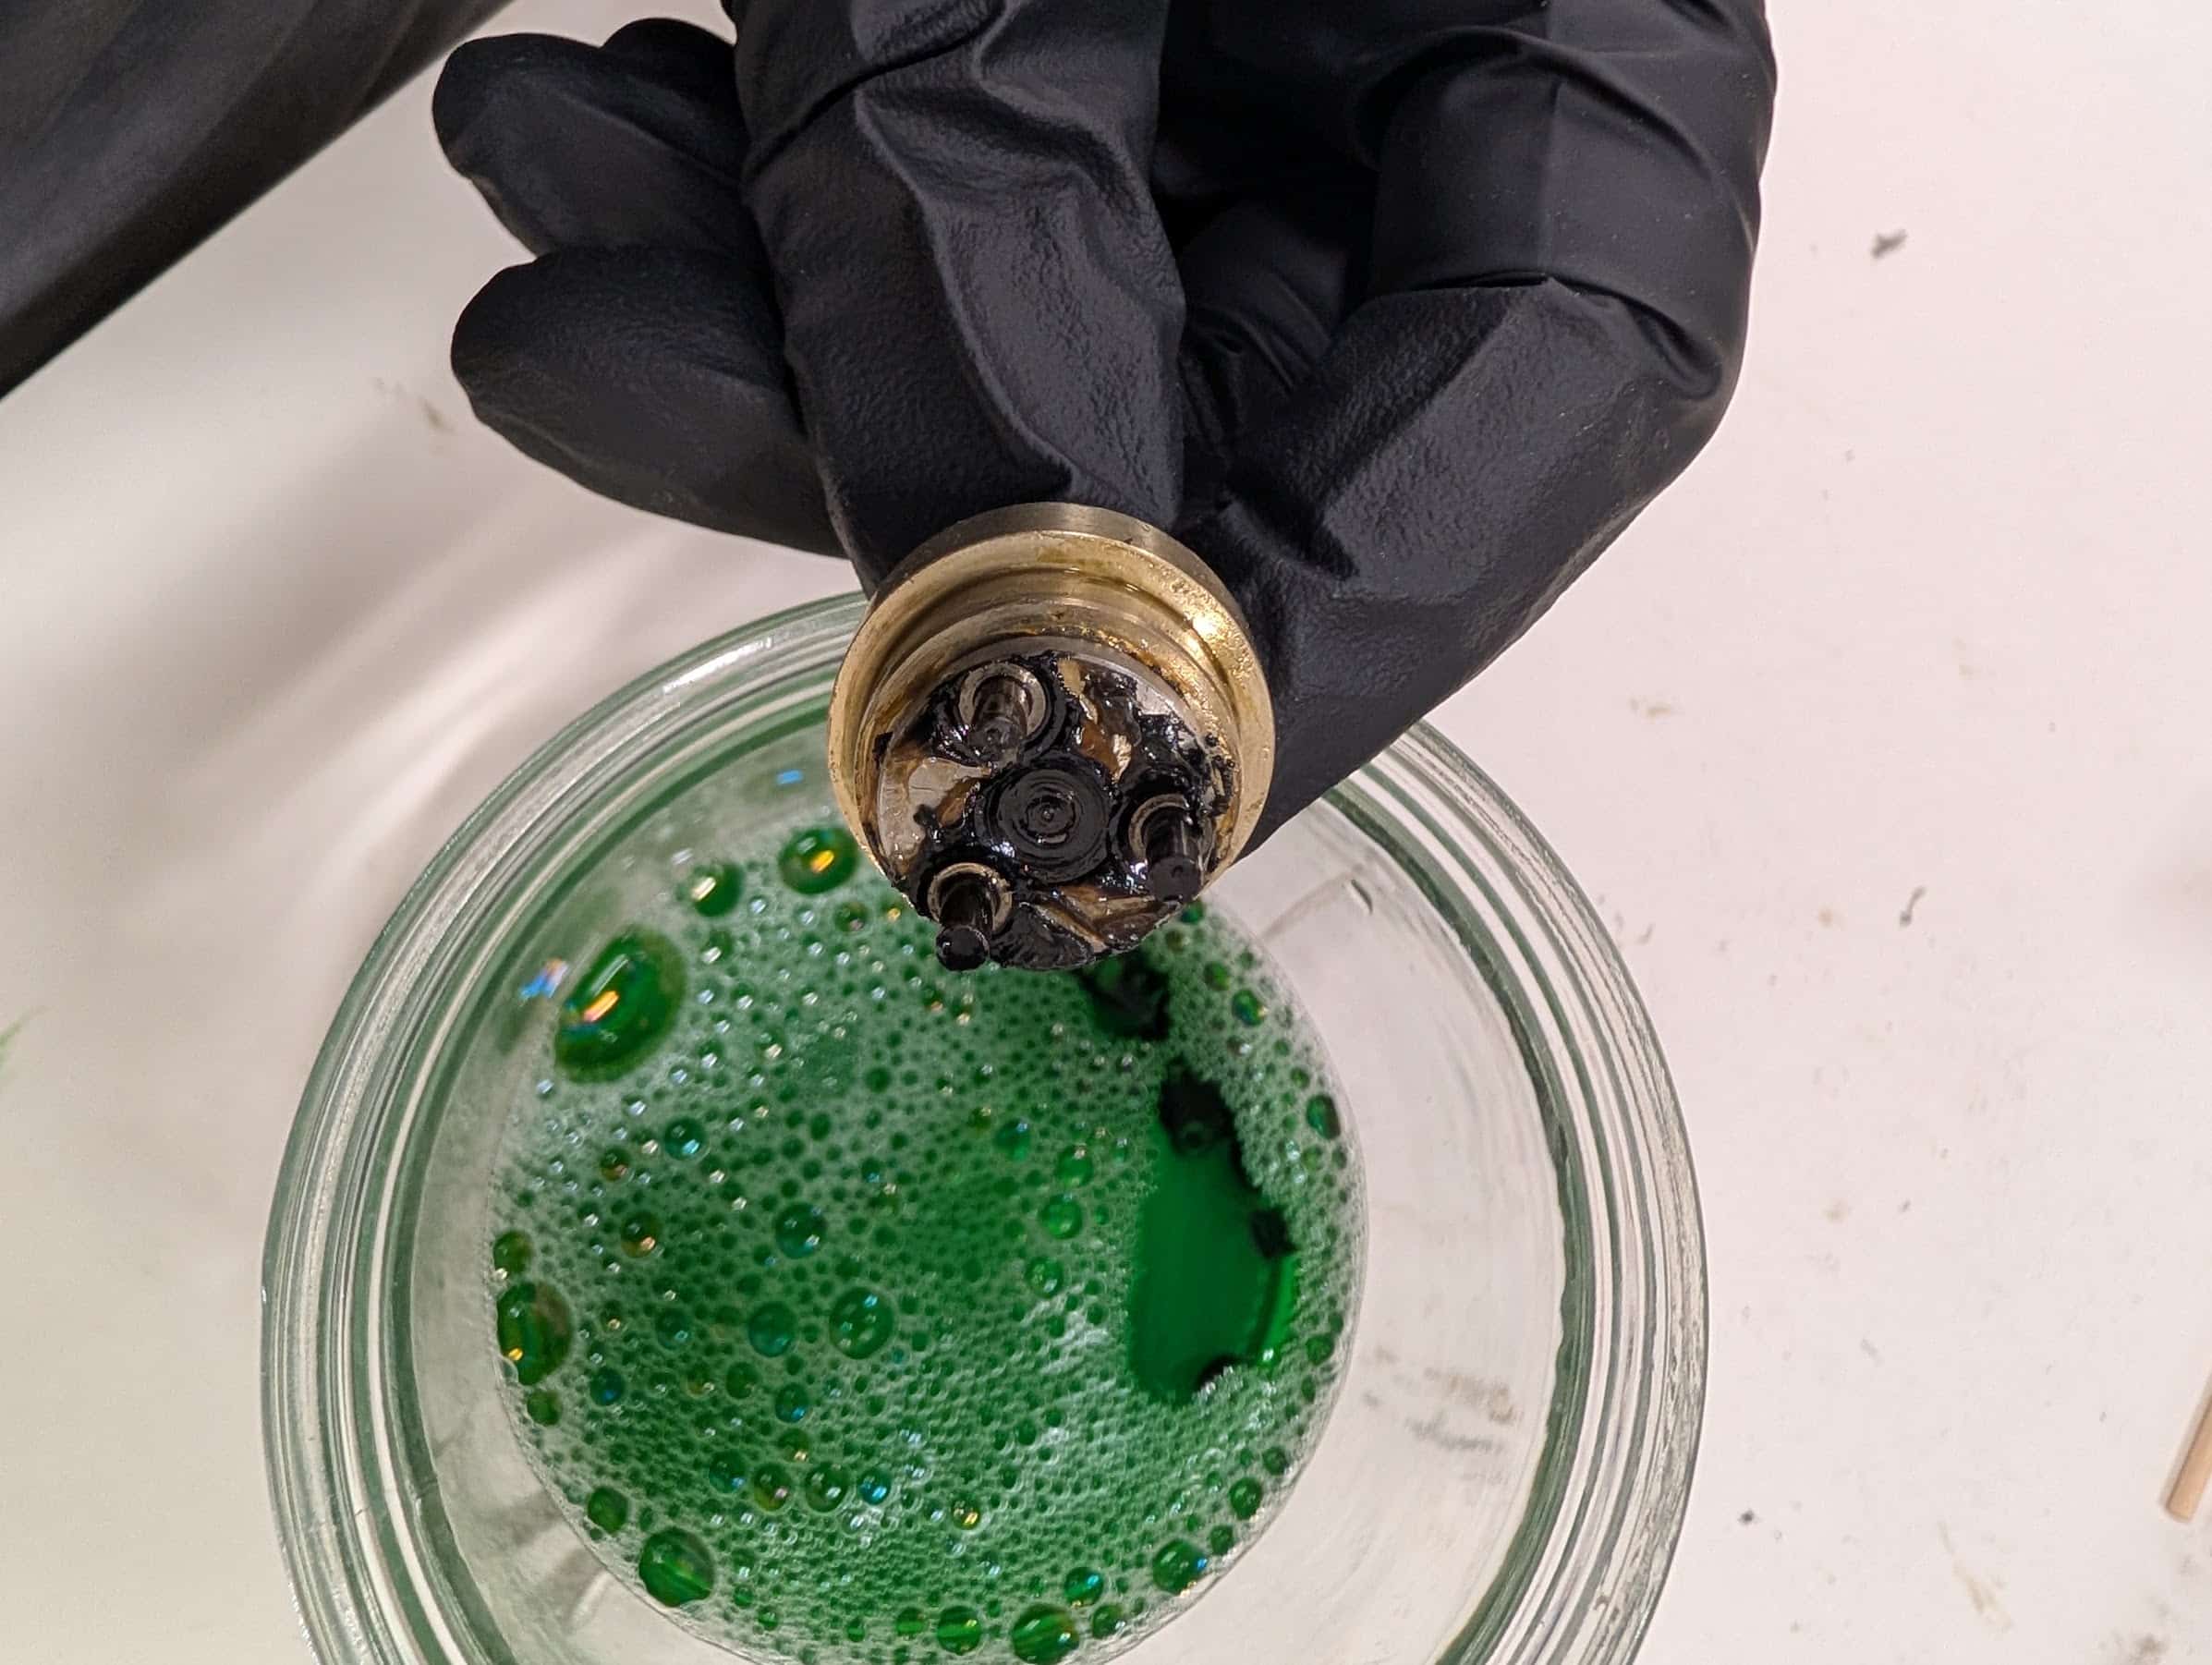
Remove every gear from the gearbox and thoroughly clean:
- planetary gears
- sun gear
- ring gear
- output carrier
- gearbox housing
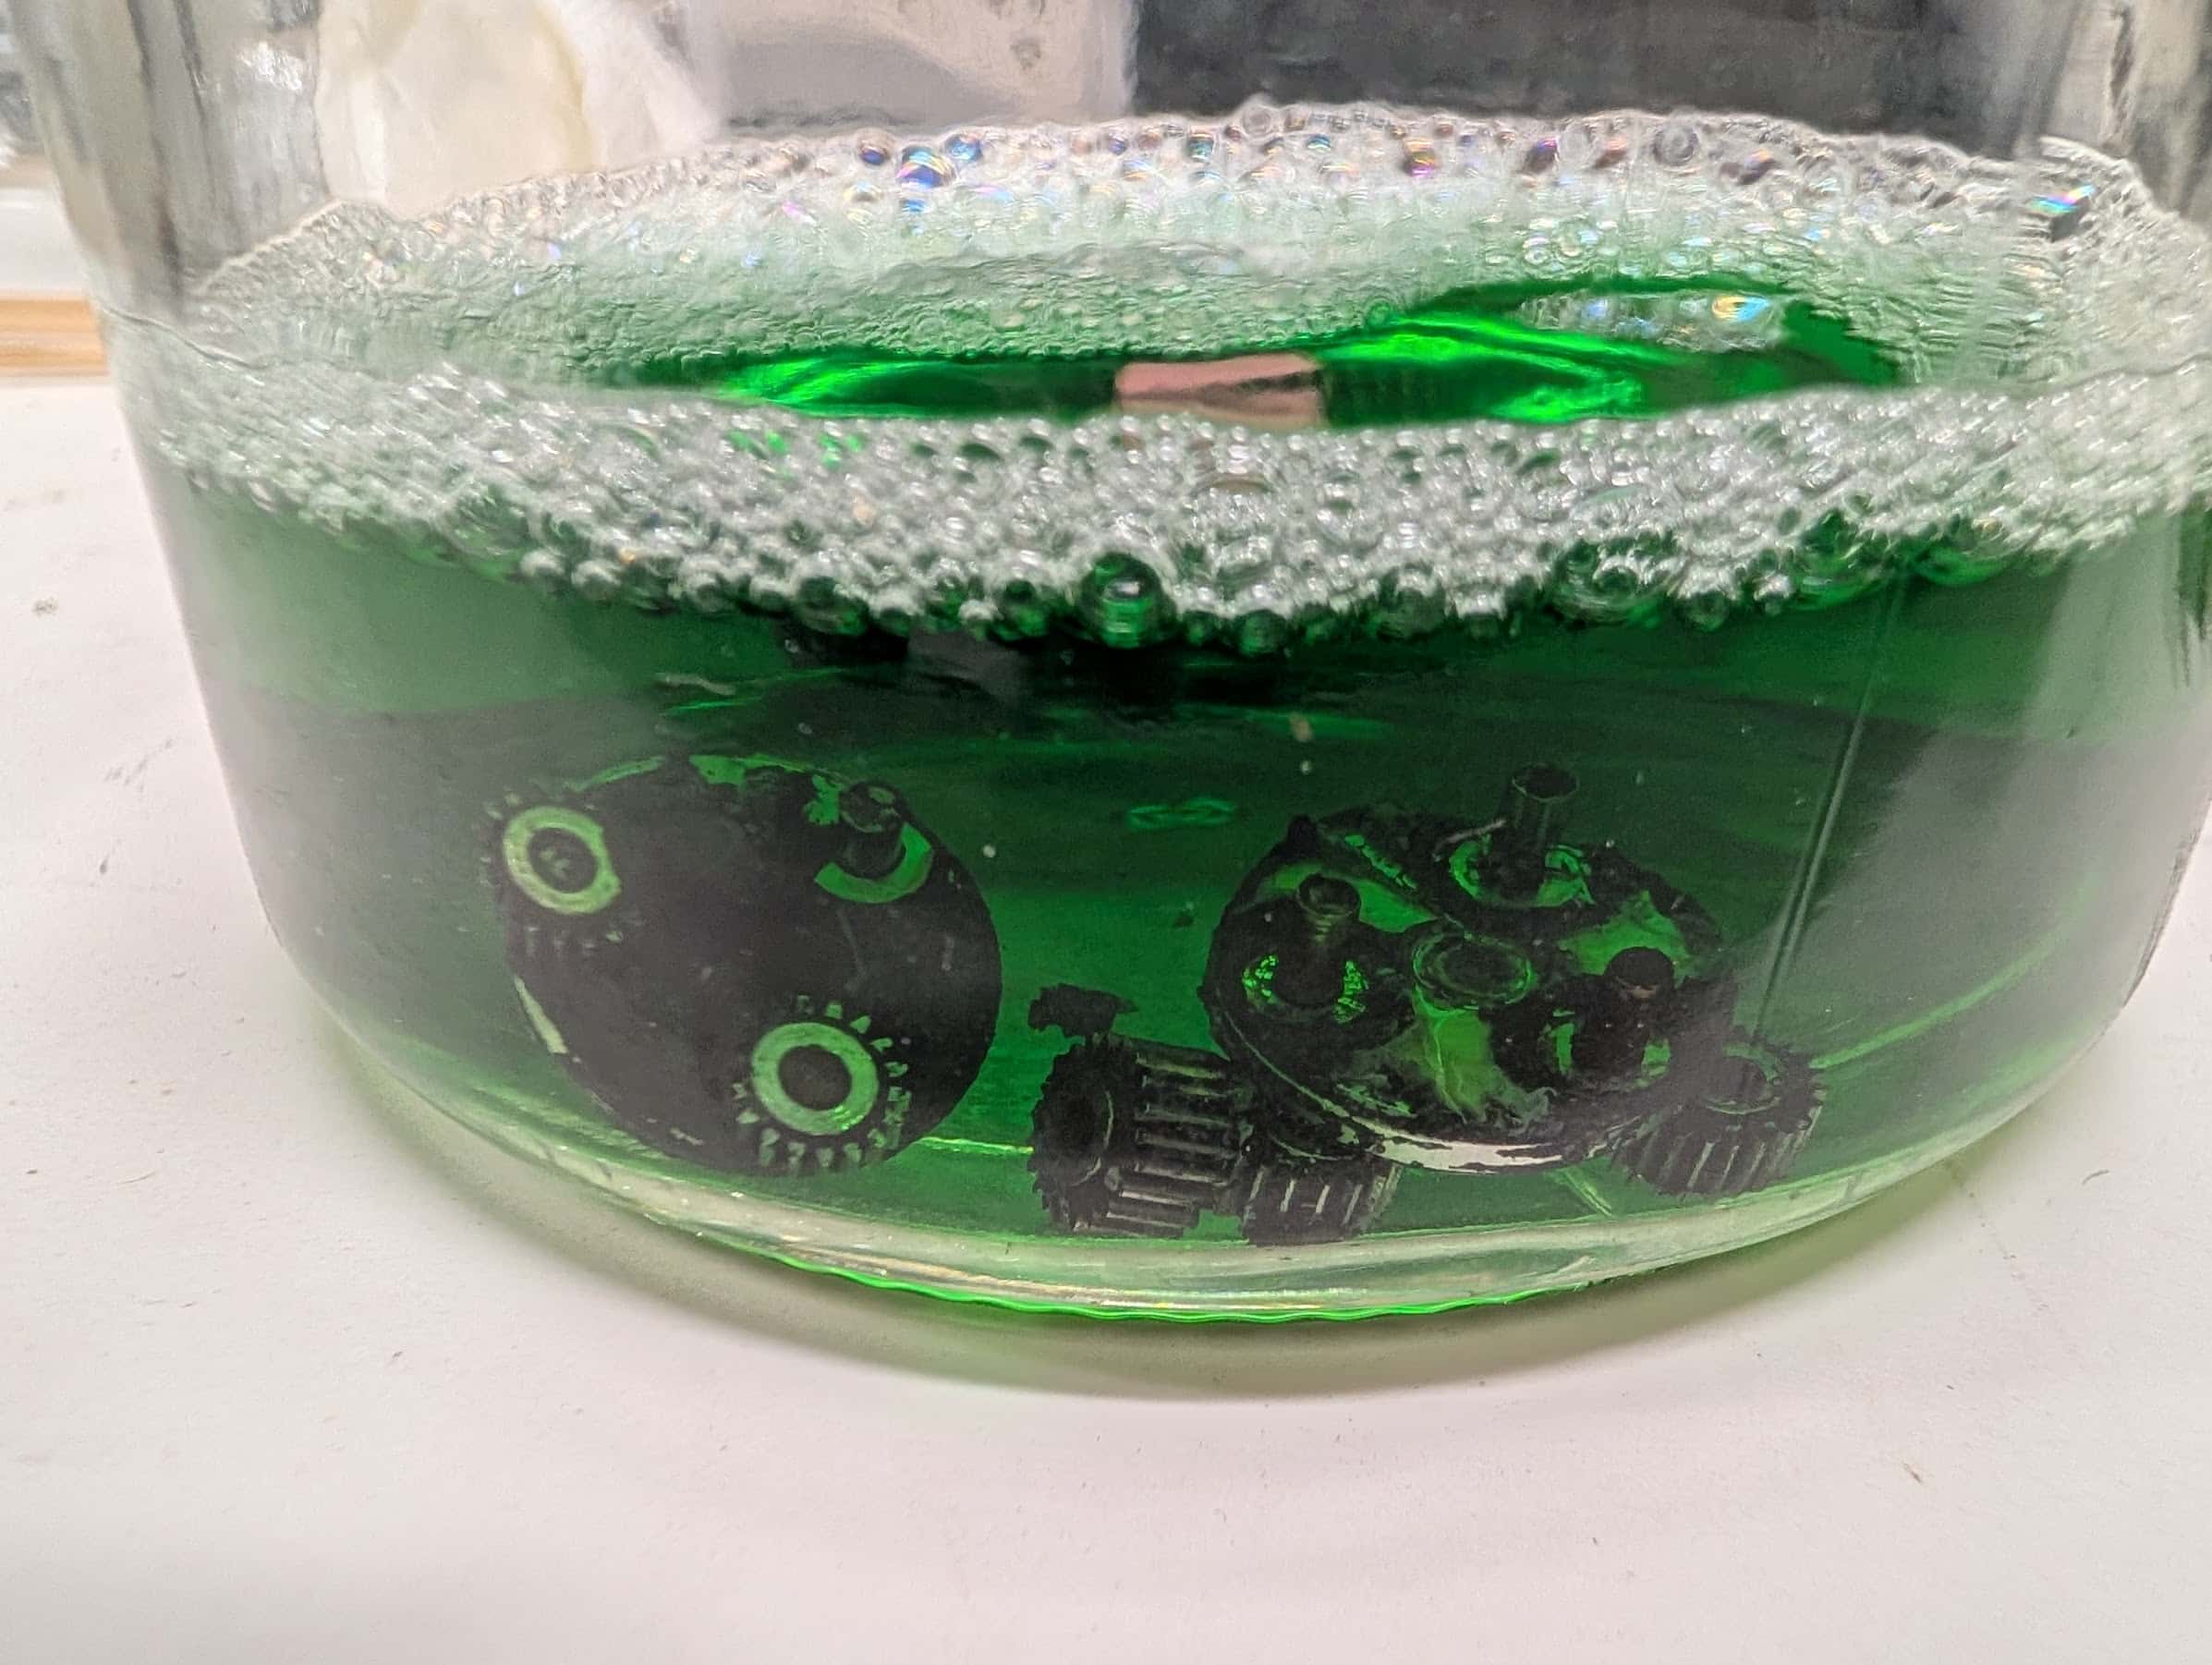
A small container filled with degreaser works well for soaking the components.
Continue cleaning until all of the old grease has been removed.
Step 6 – Apply New High-Temperature Grease
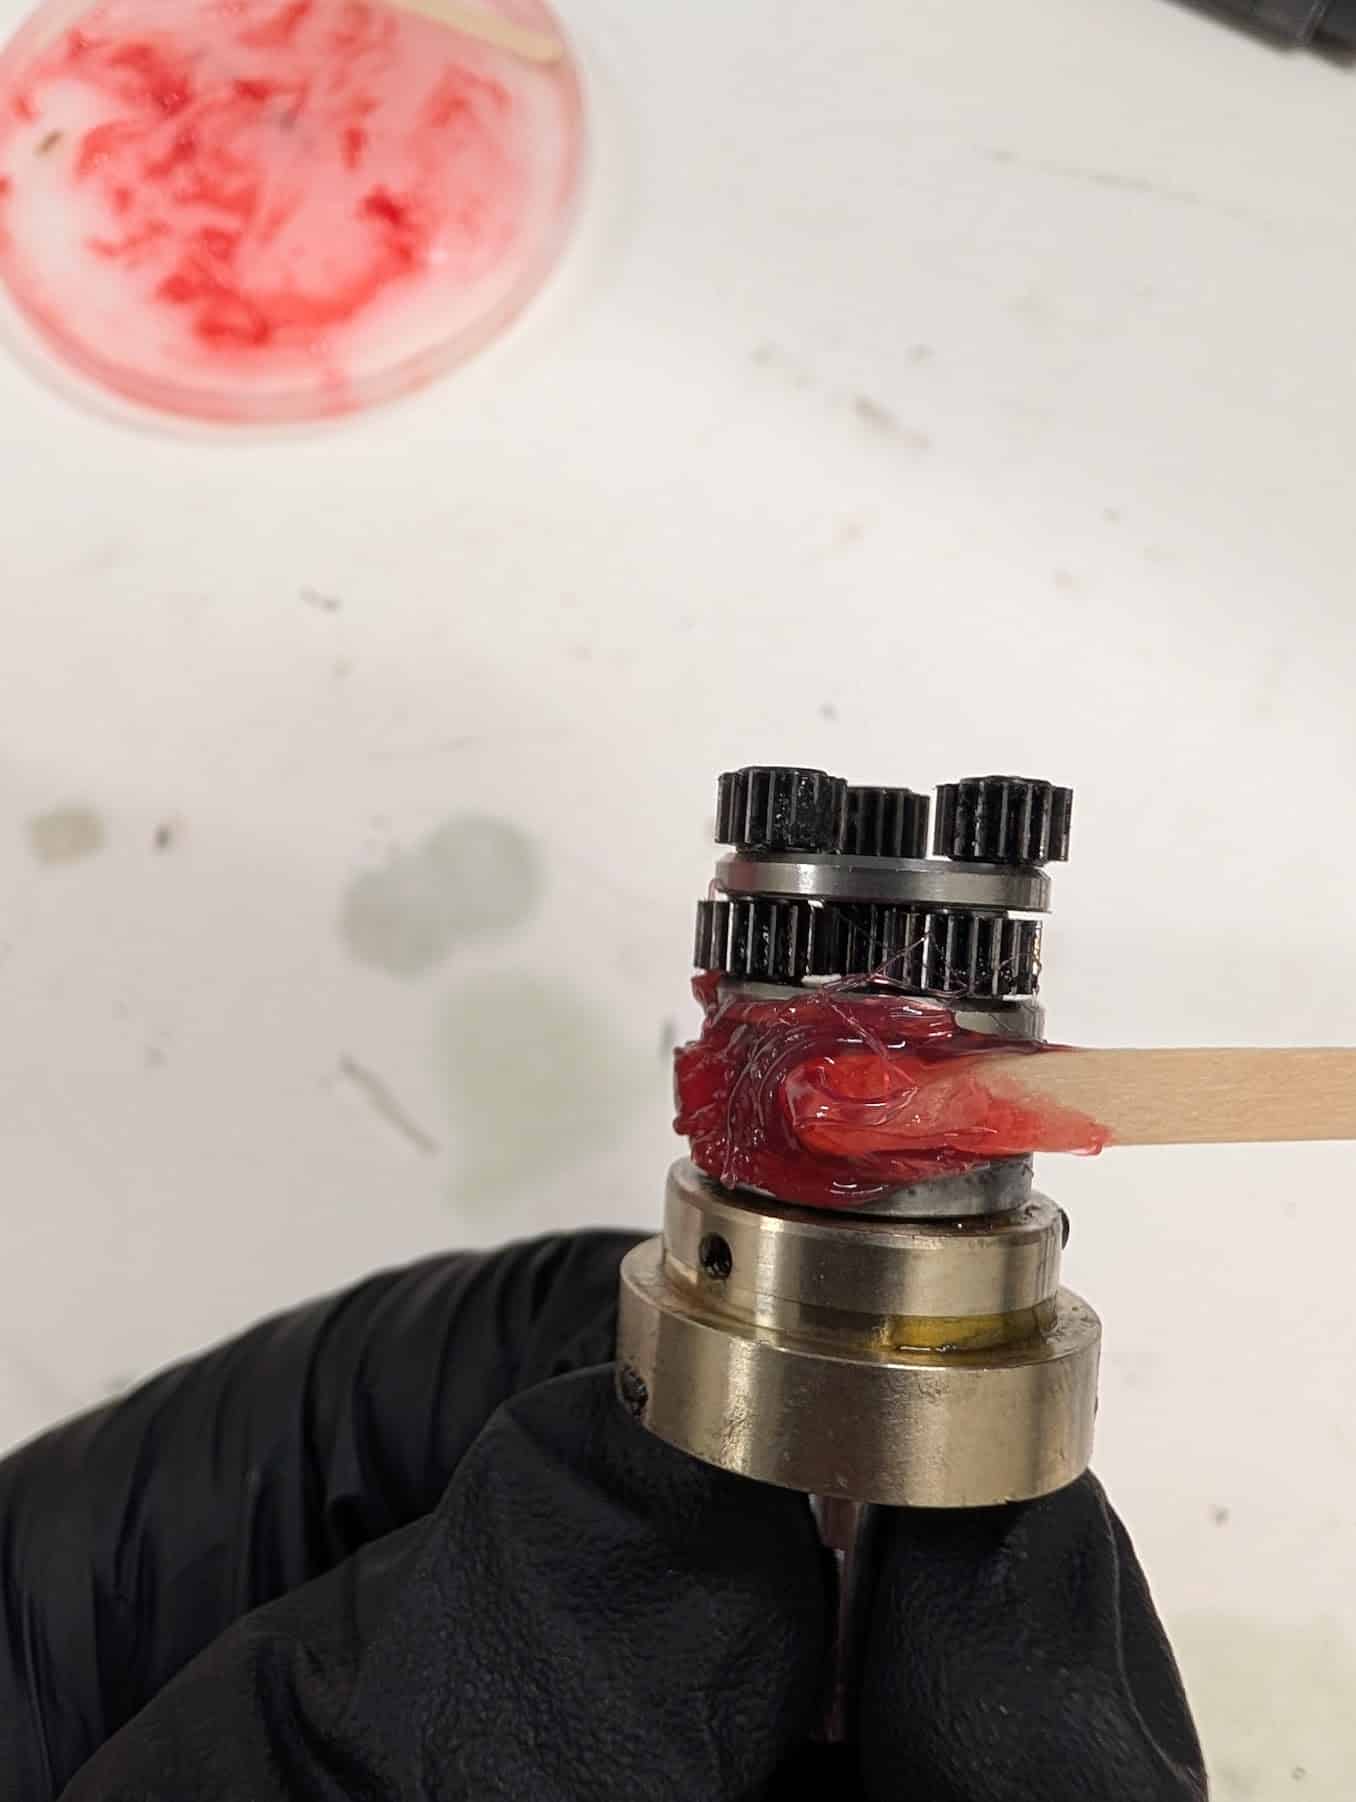
After all parts are completely clean and dry, apply a thick, even coating of high-temperature synthetic grease.
The goal is to lightly coat every gear tooth and rotating surface.
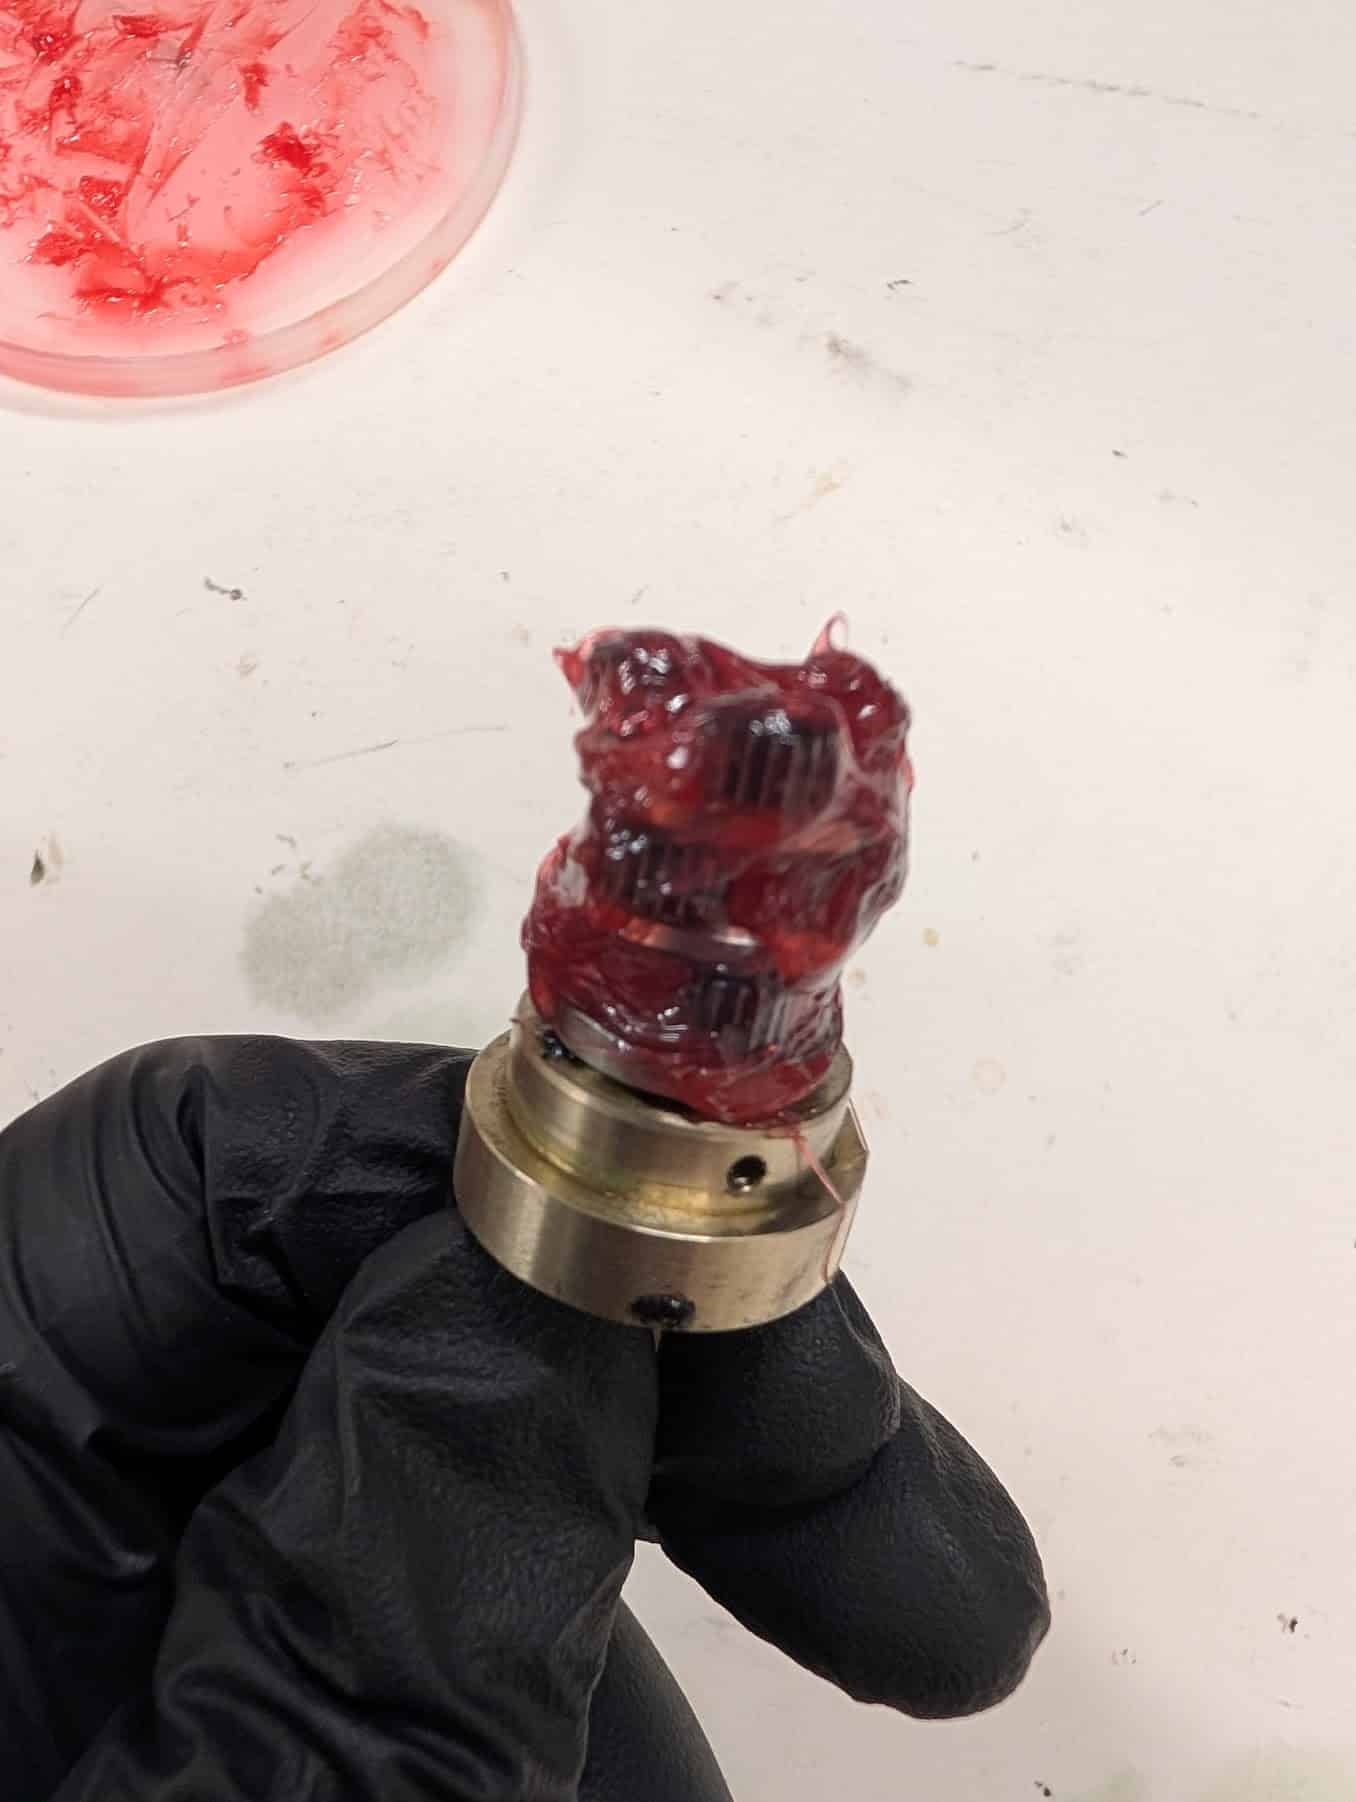
Step 7 – Reassemble the Motor
Reinstall the planetary gears in the same orientation they were removed.
Reassemble:
- Planetary carrier
- Gear stages
- Output shaft
- Front cap
Verify the output shaft rotates smoothly by hand before reinstalling the motor into the print head.
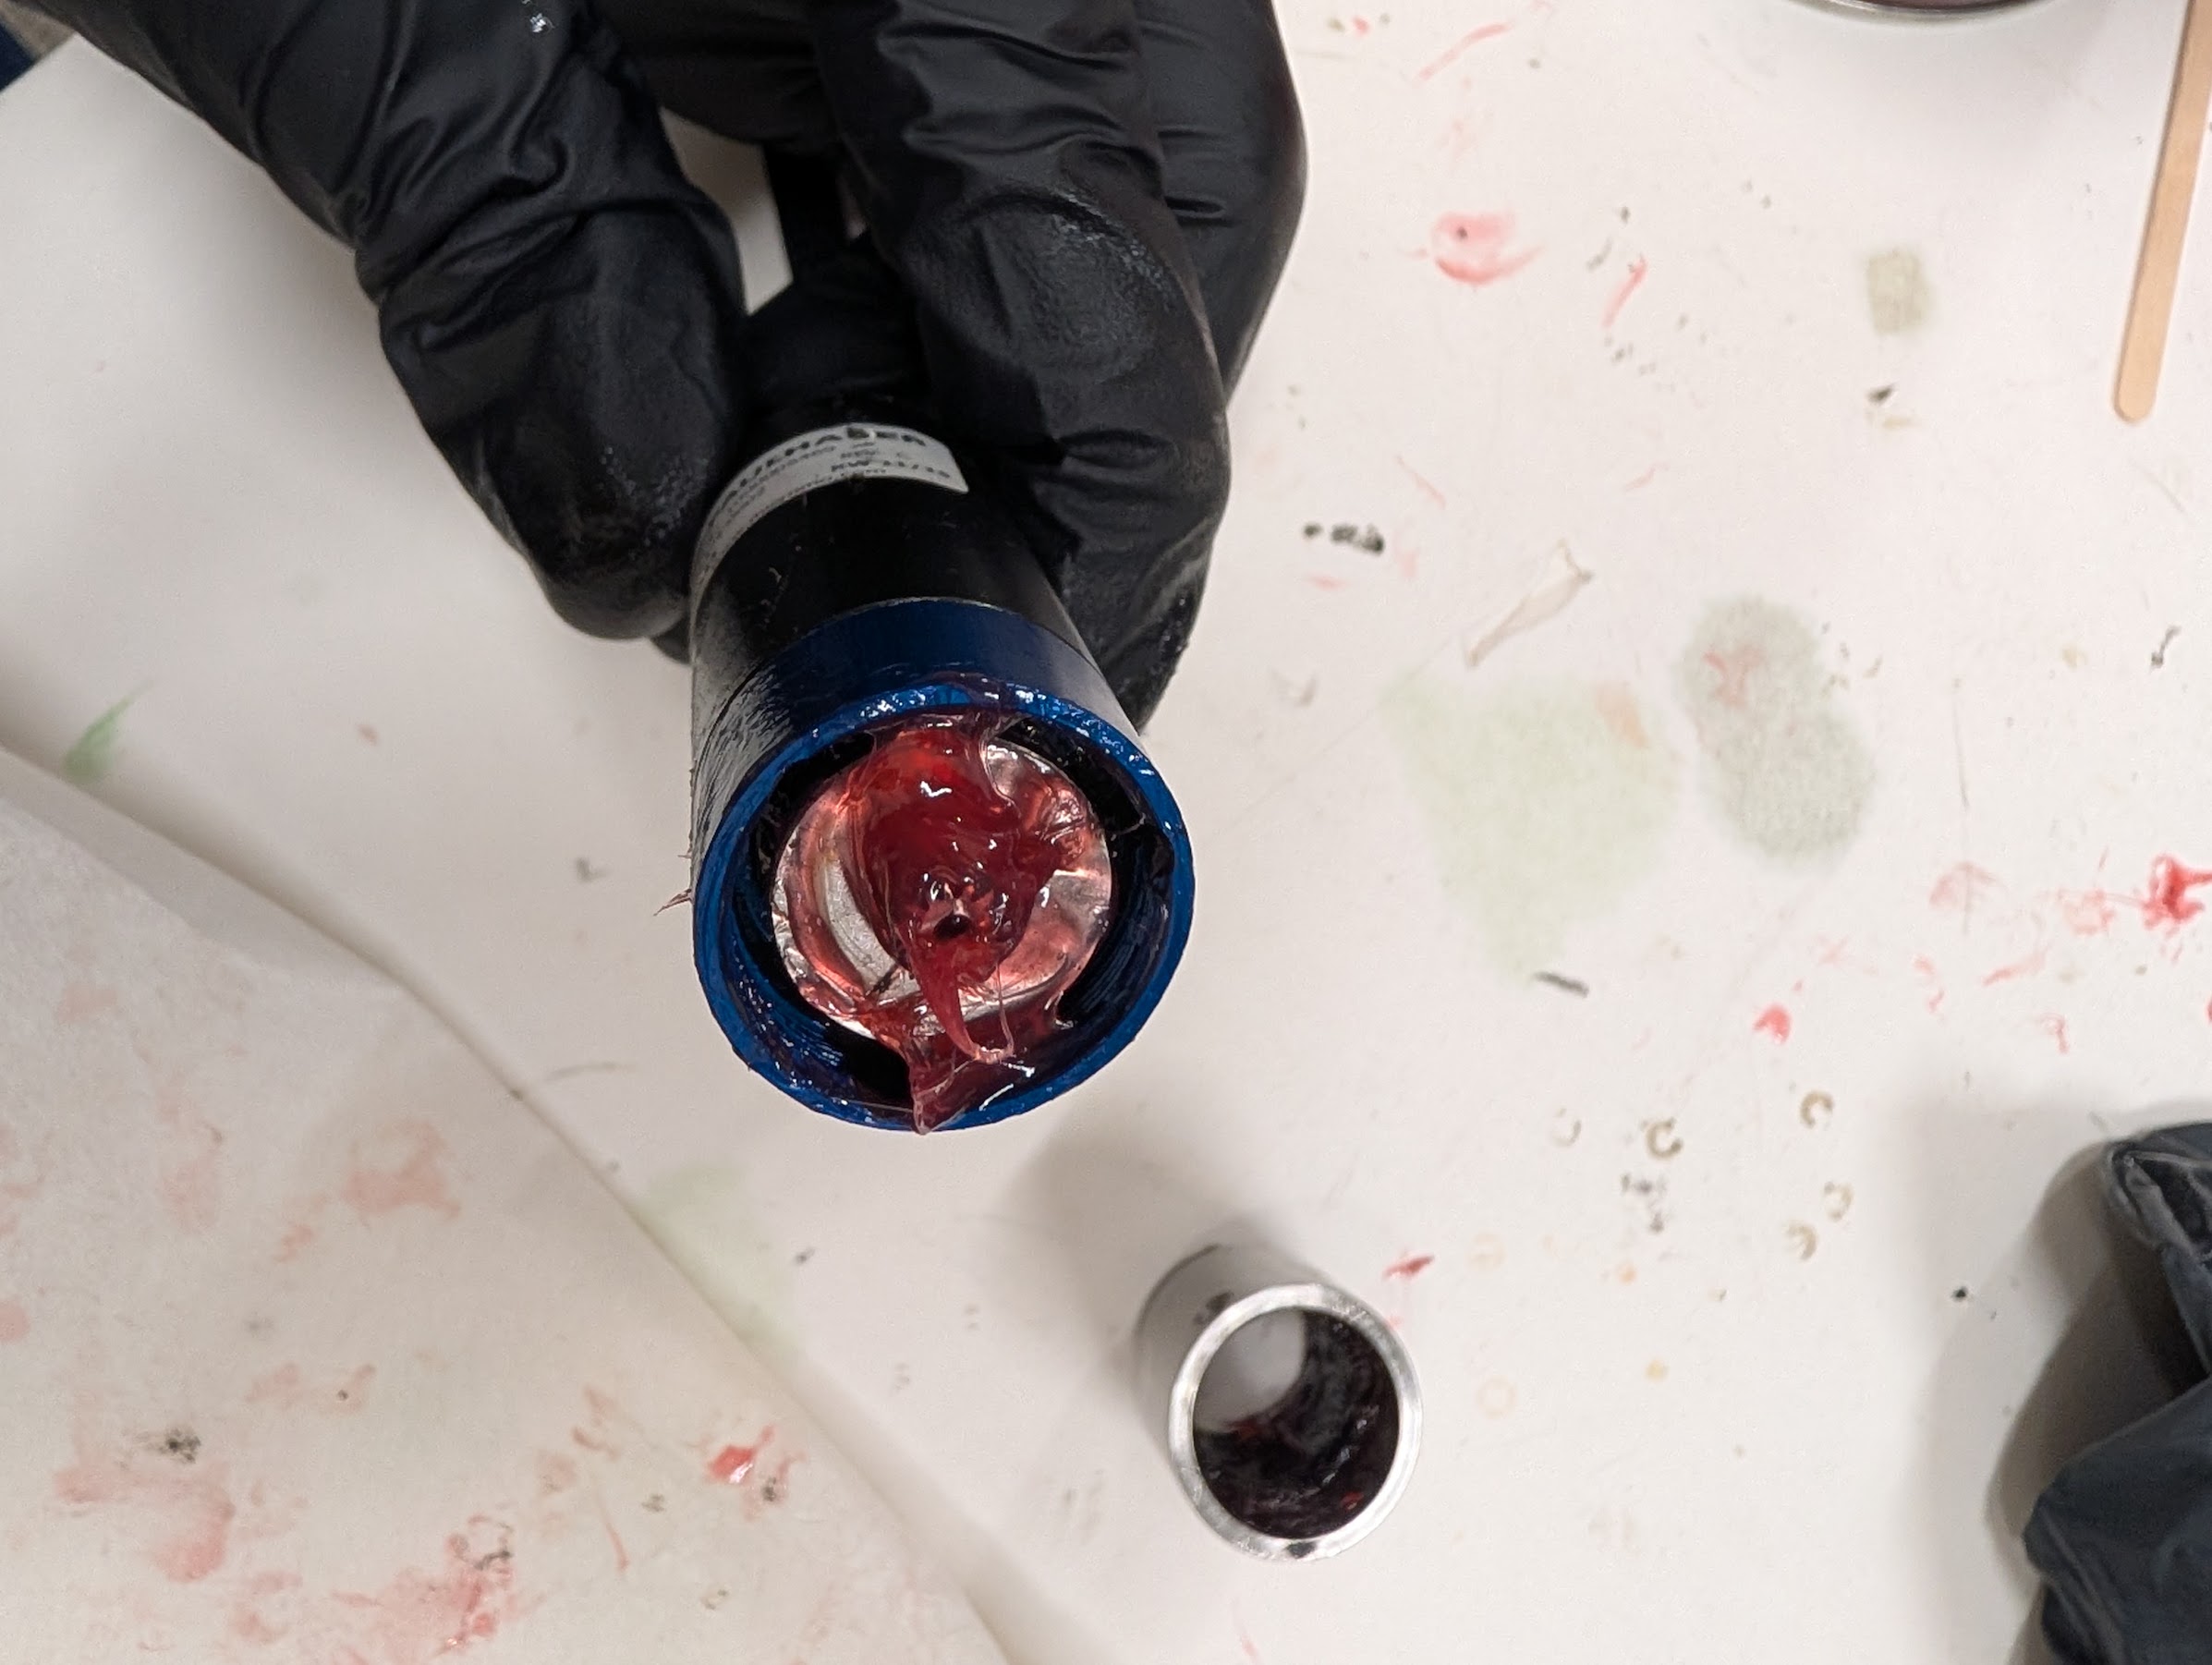
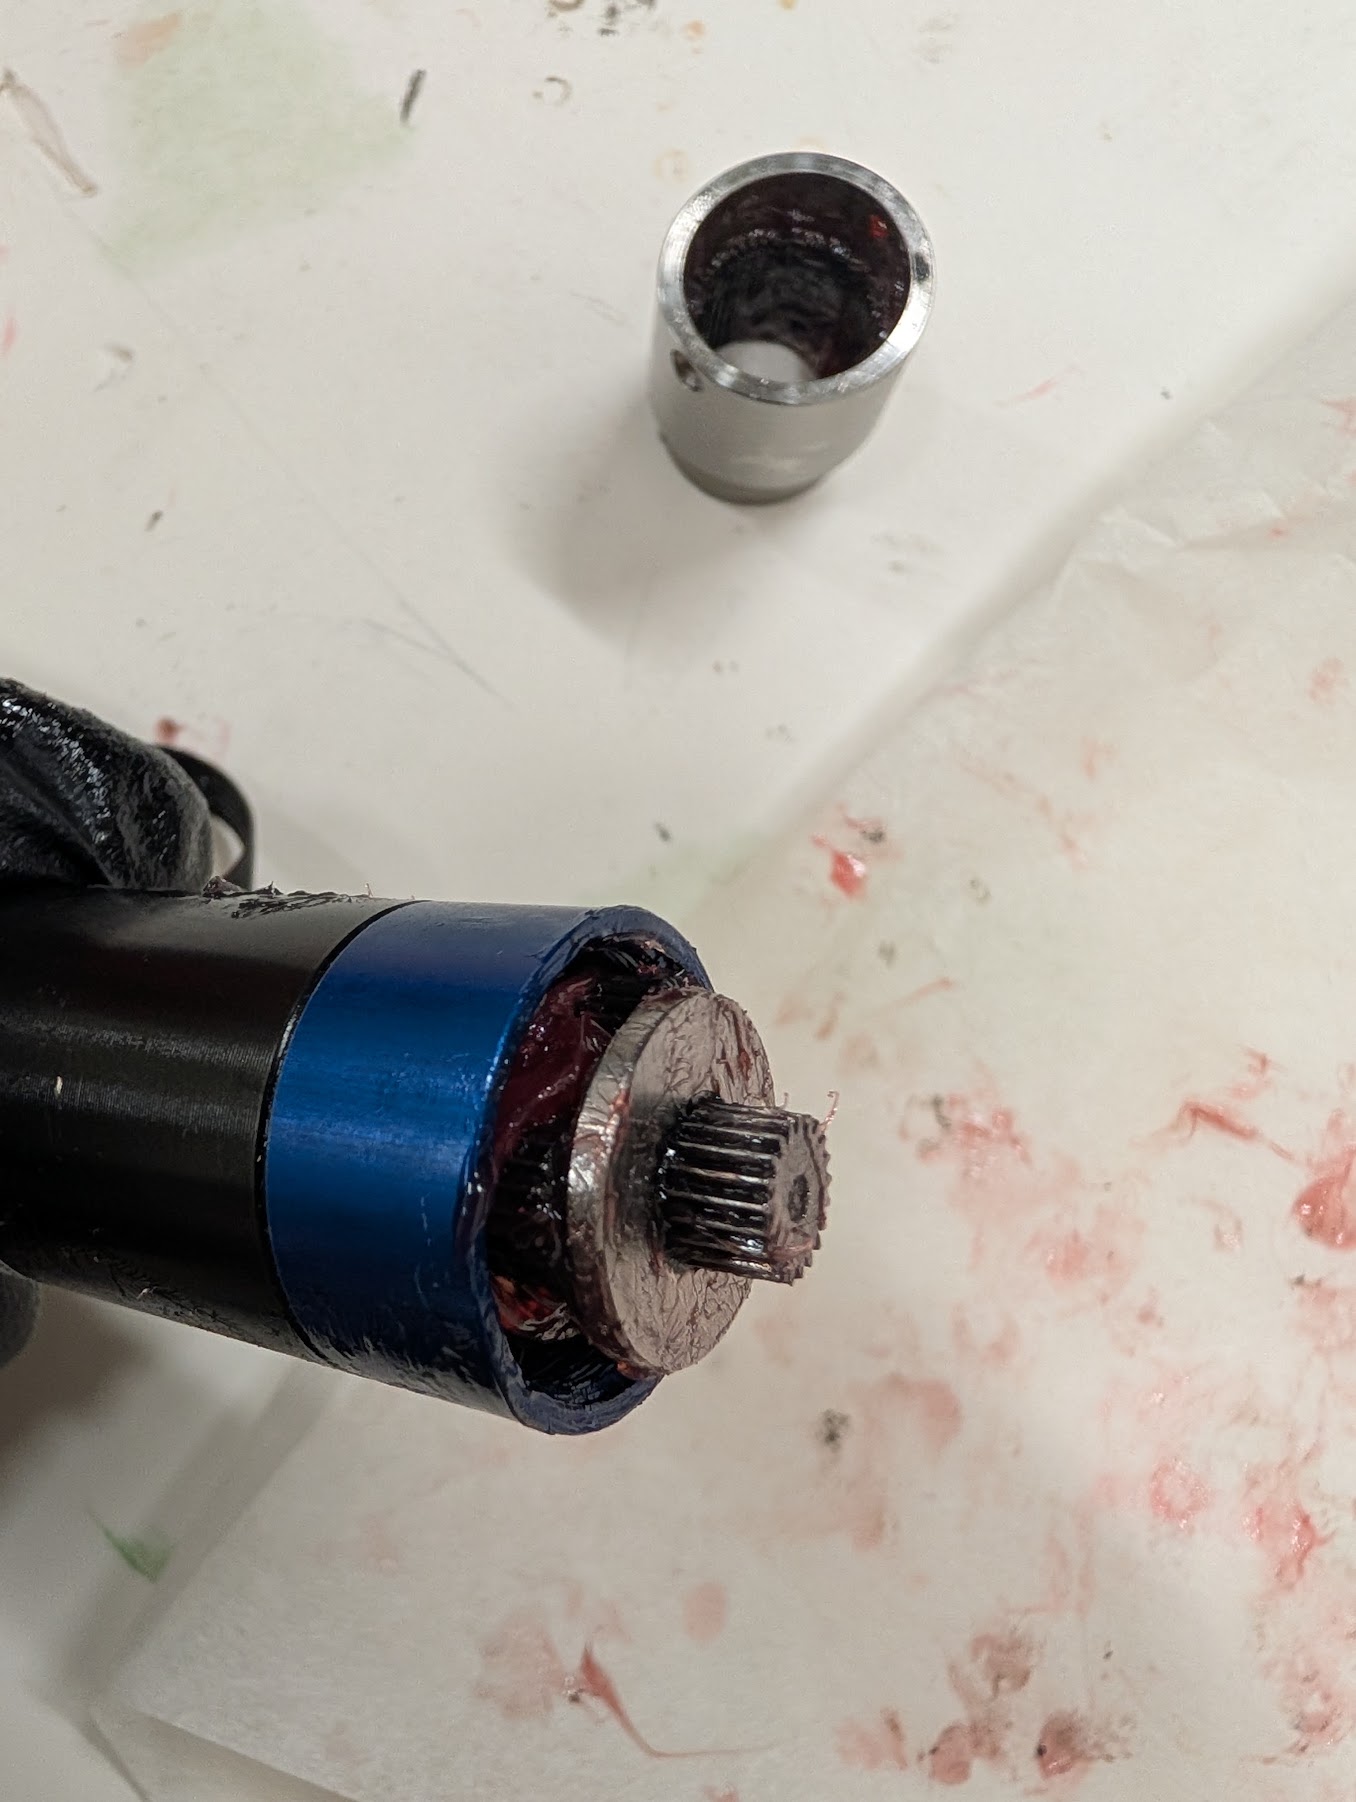
Step 8 – Reinstall the Motor
Mount the motor back onto the print head.
Reconnect the electrical connector.
Reinstall all covers.
Finally, reinstall the print head into the printer.
After powering the machine back on, verify that the extruder rotates normally and perform a test print.
Preventative Maintenance
Because the gearbox operates in a high-temperature environment, the grease will eventually degrade again. If your printer has accumulated several thousand hours of operation, proactively servicing the gearbox before it completely seizes can prevent unexpected downtime and extend the life of the original motor.